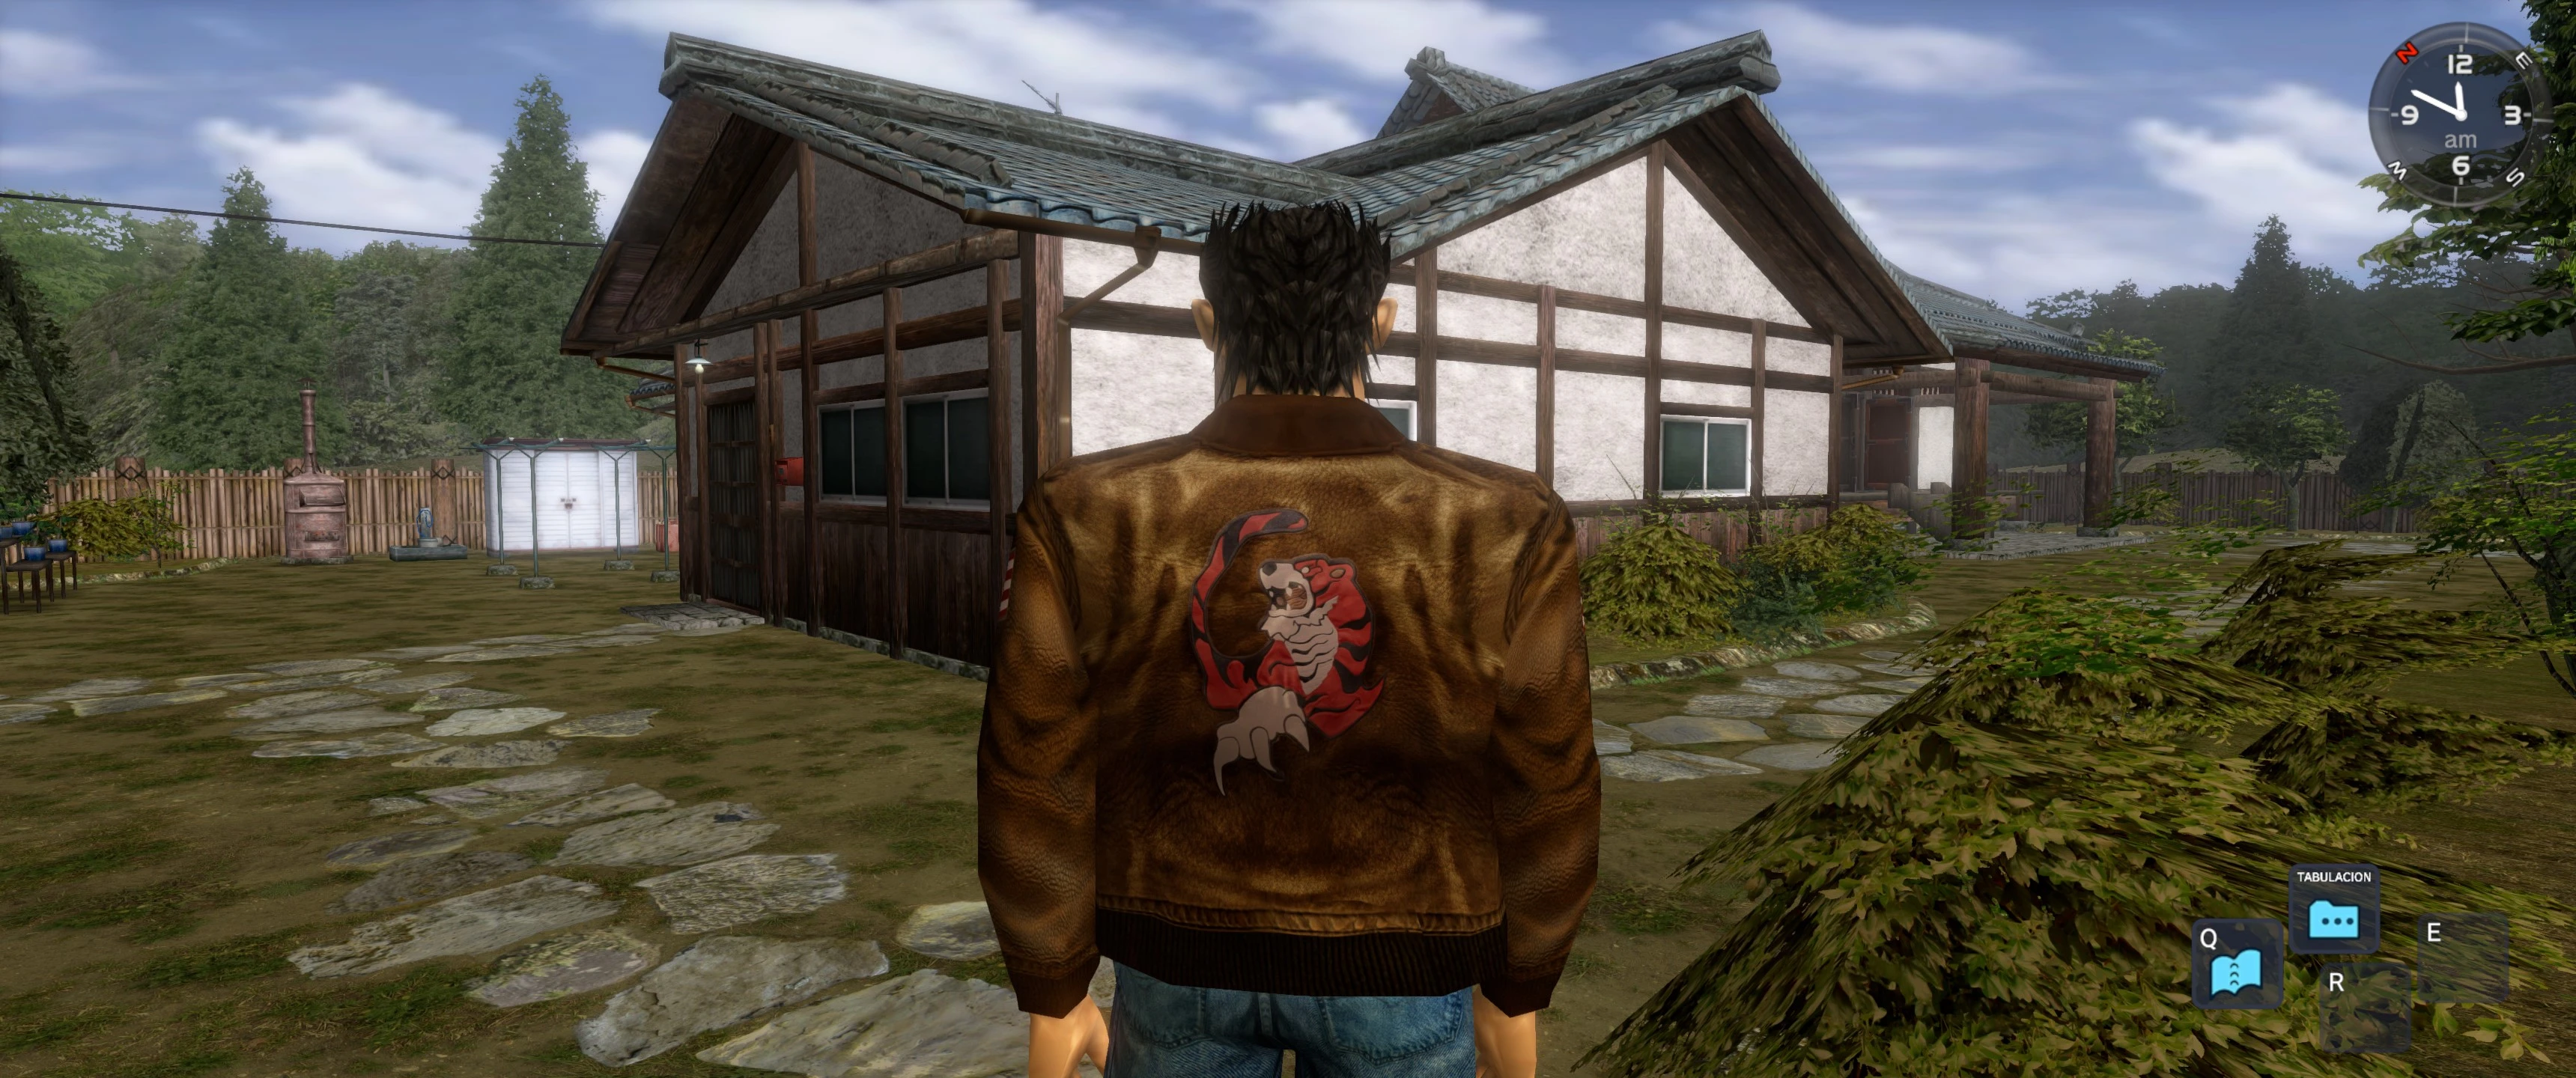
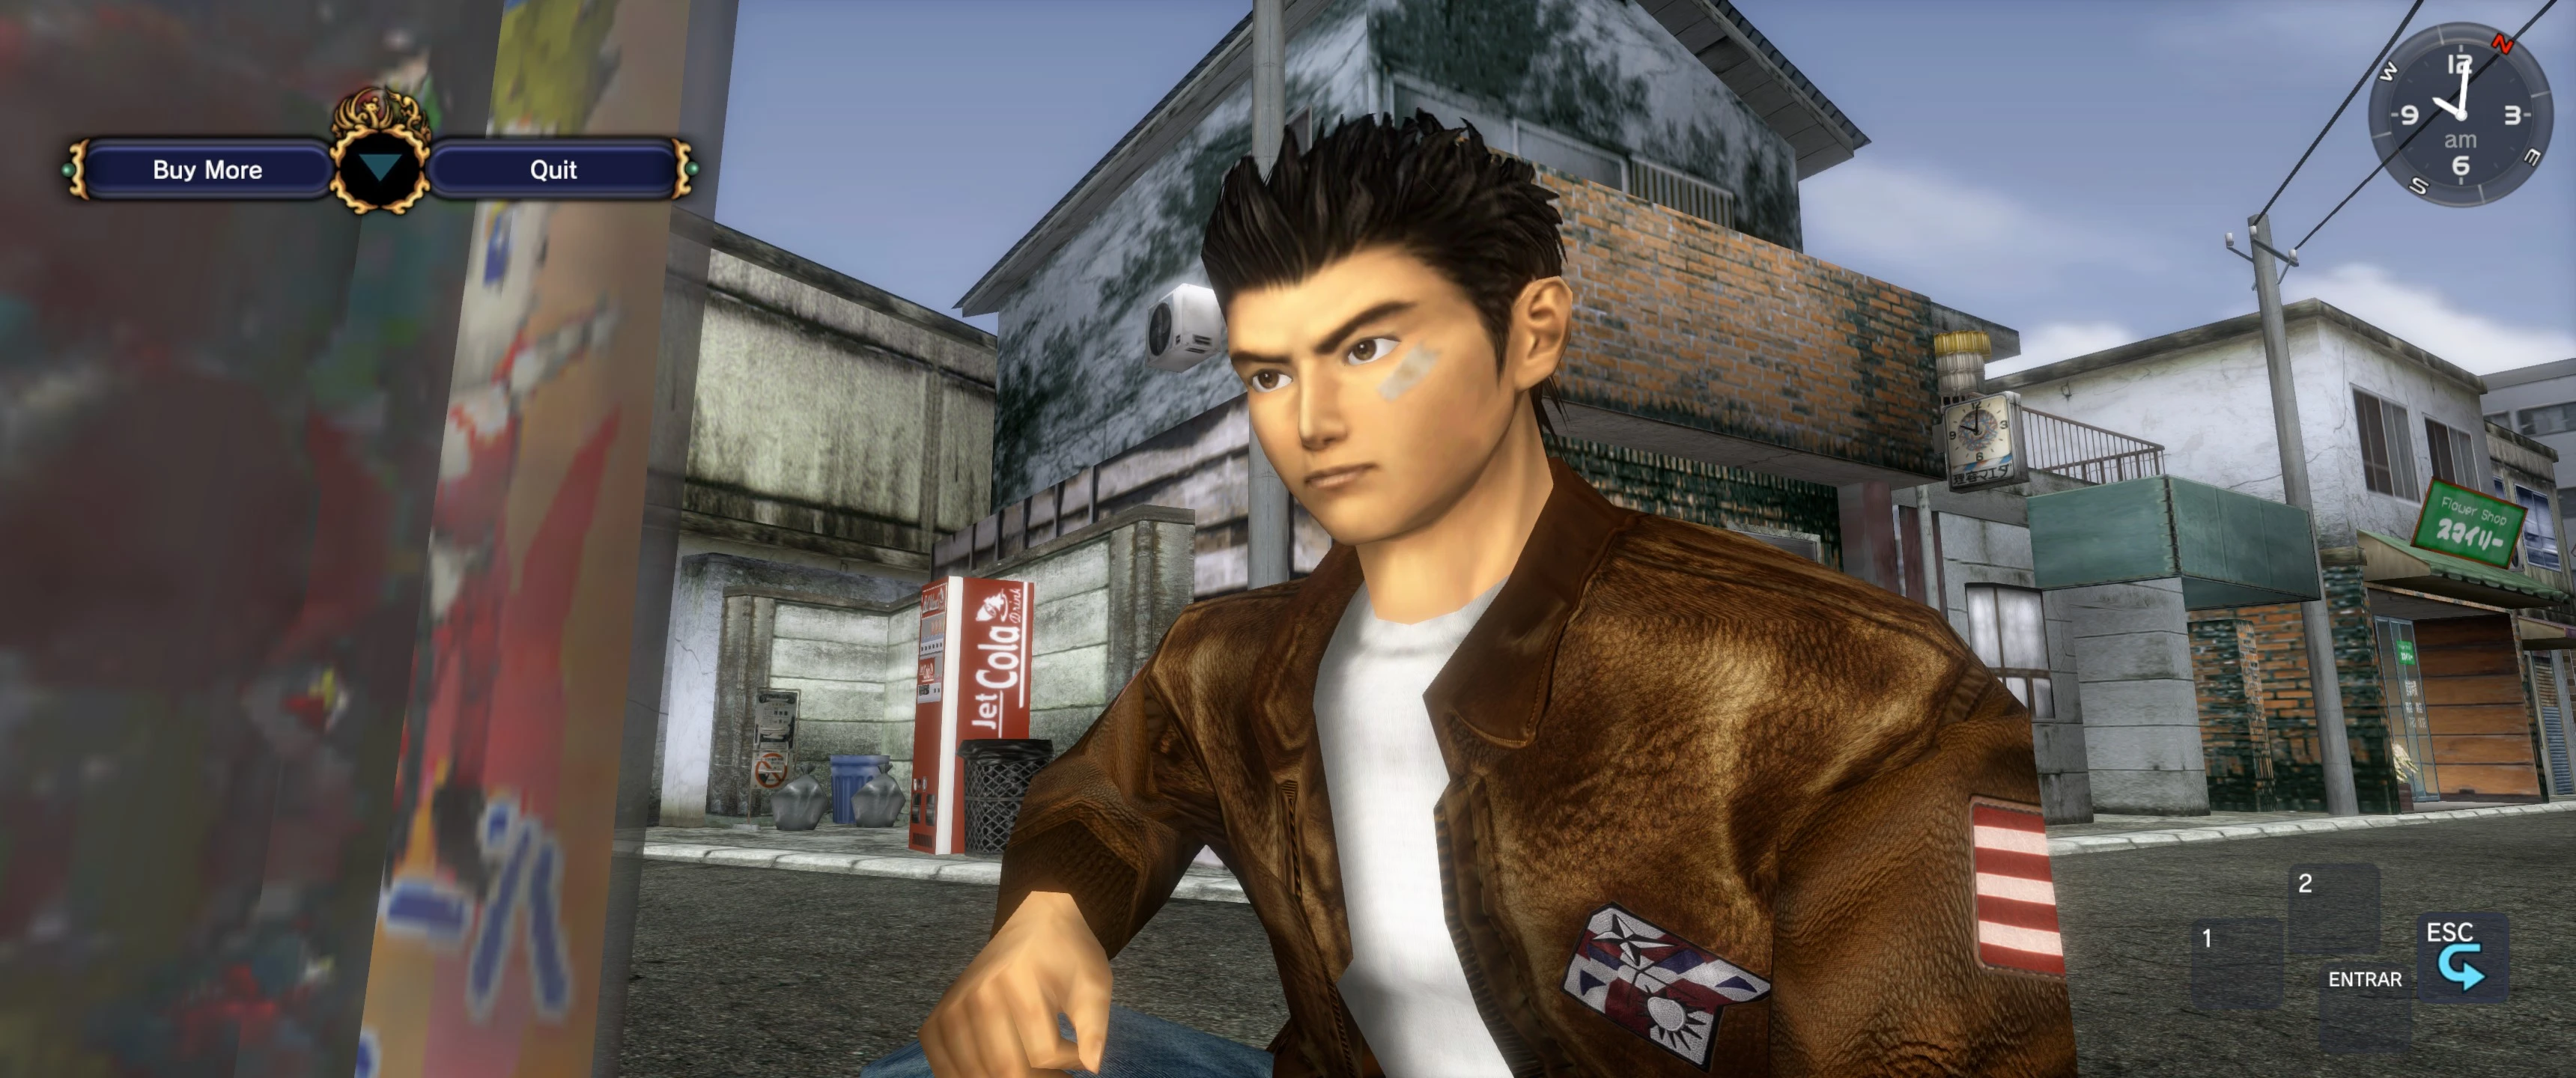
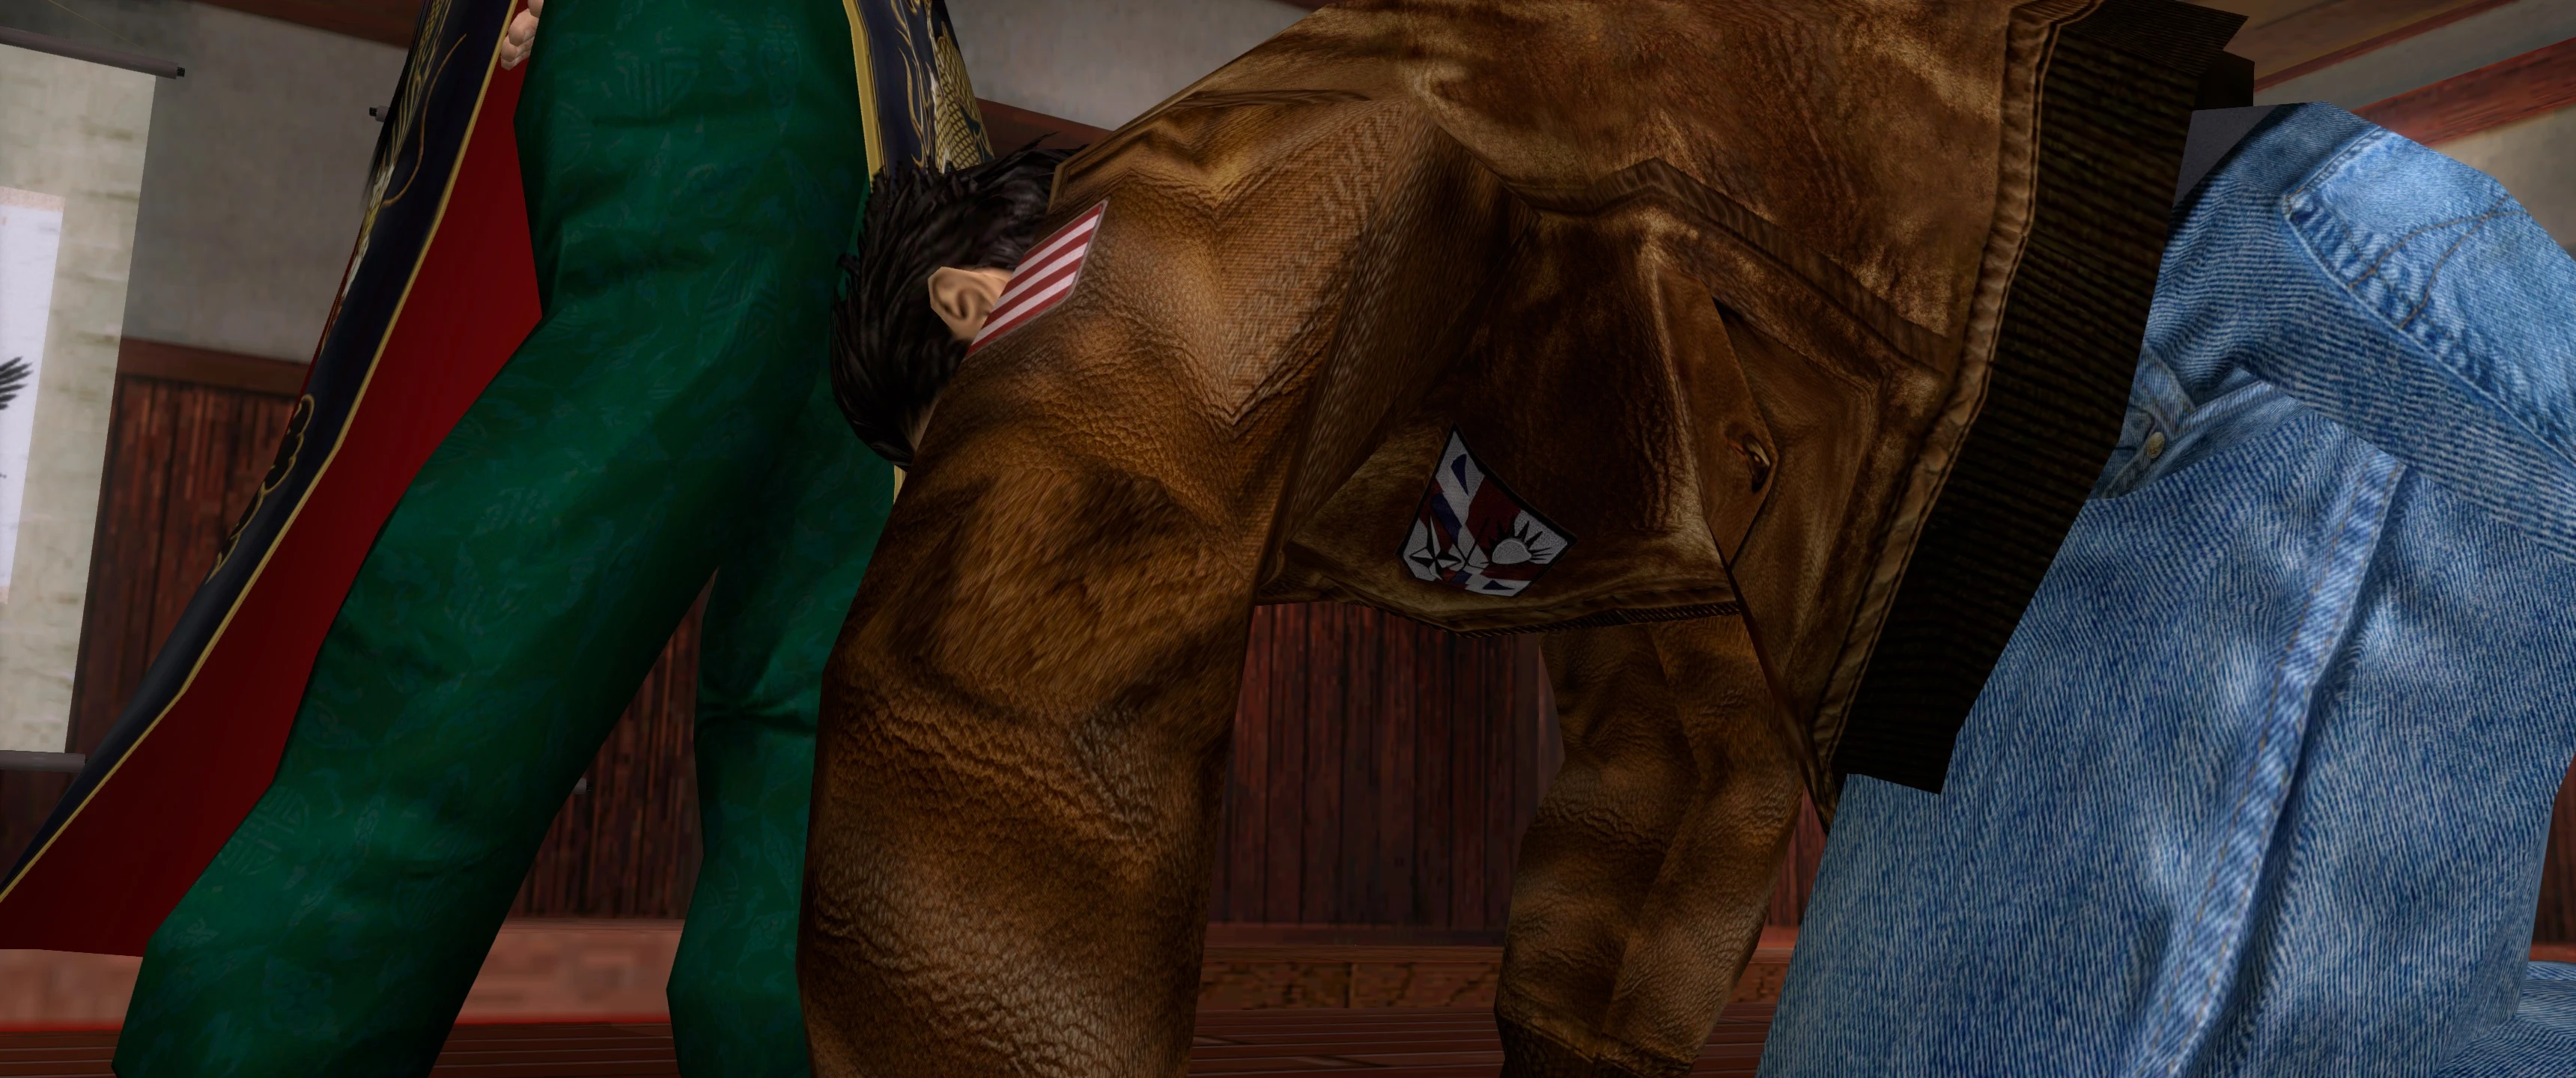
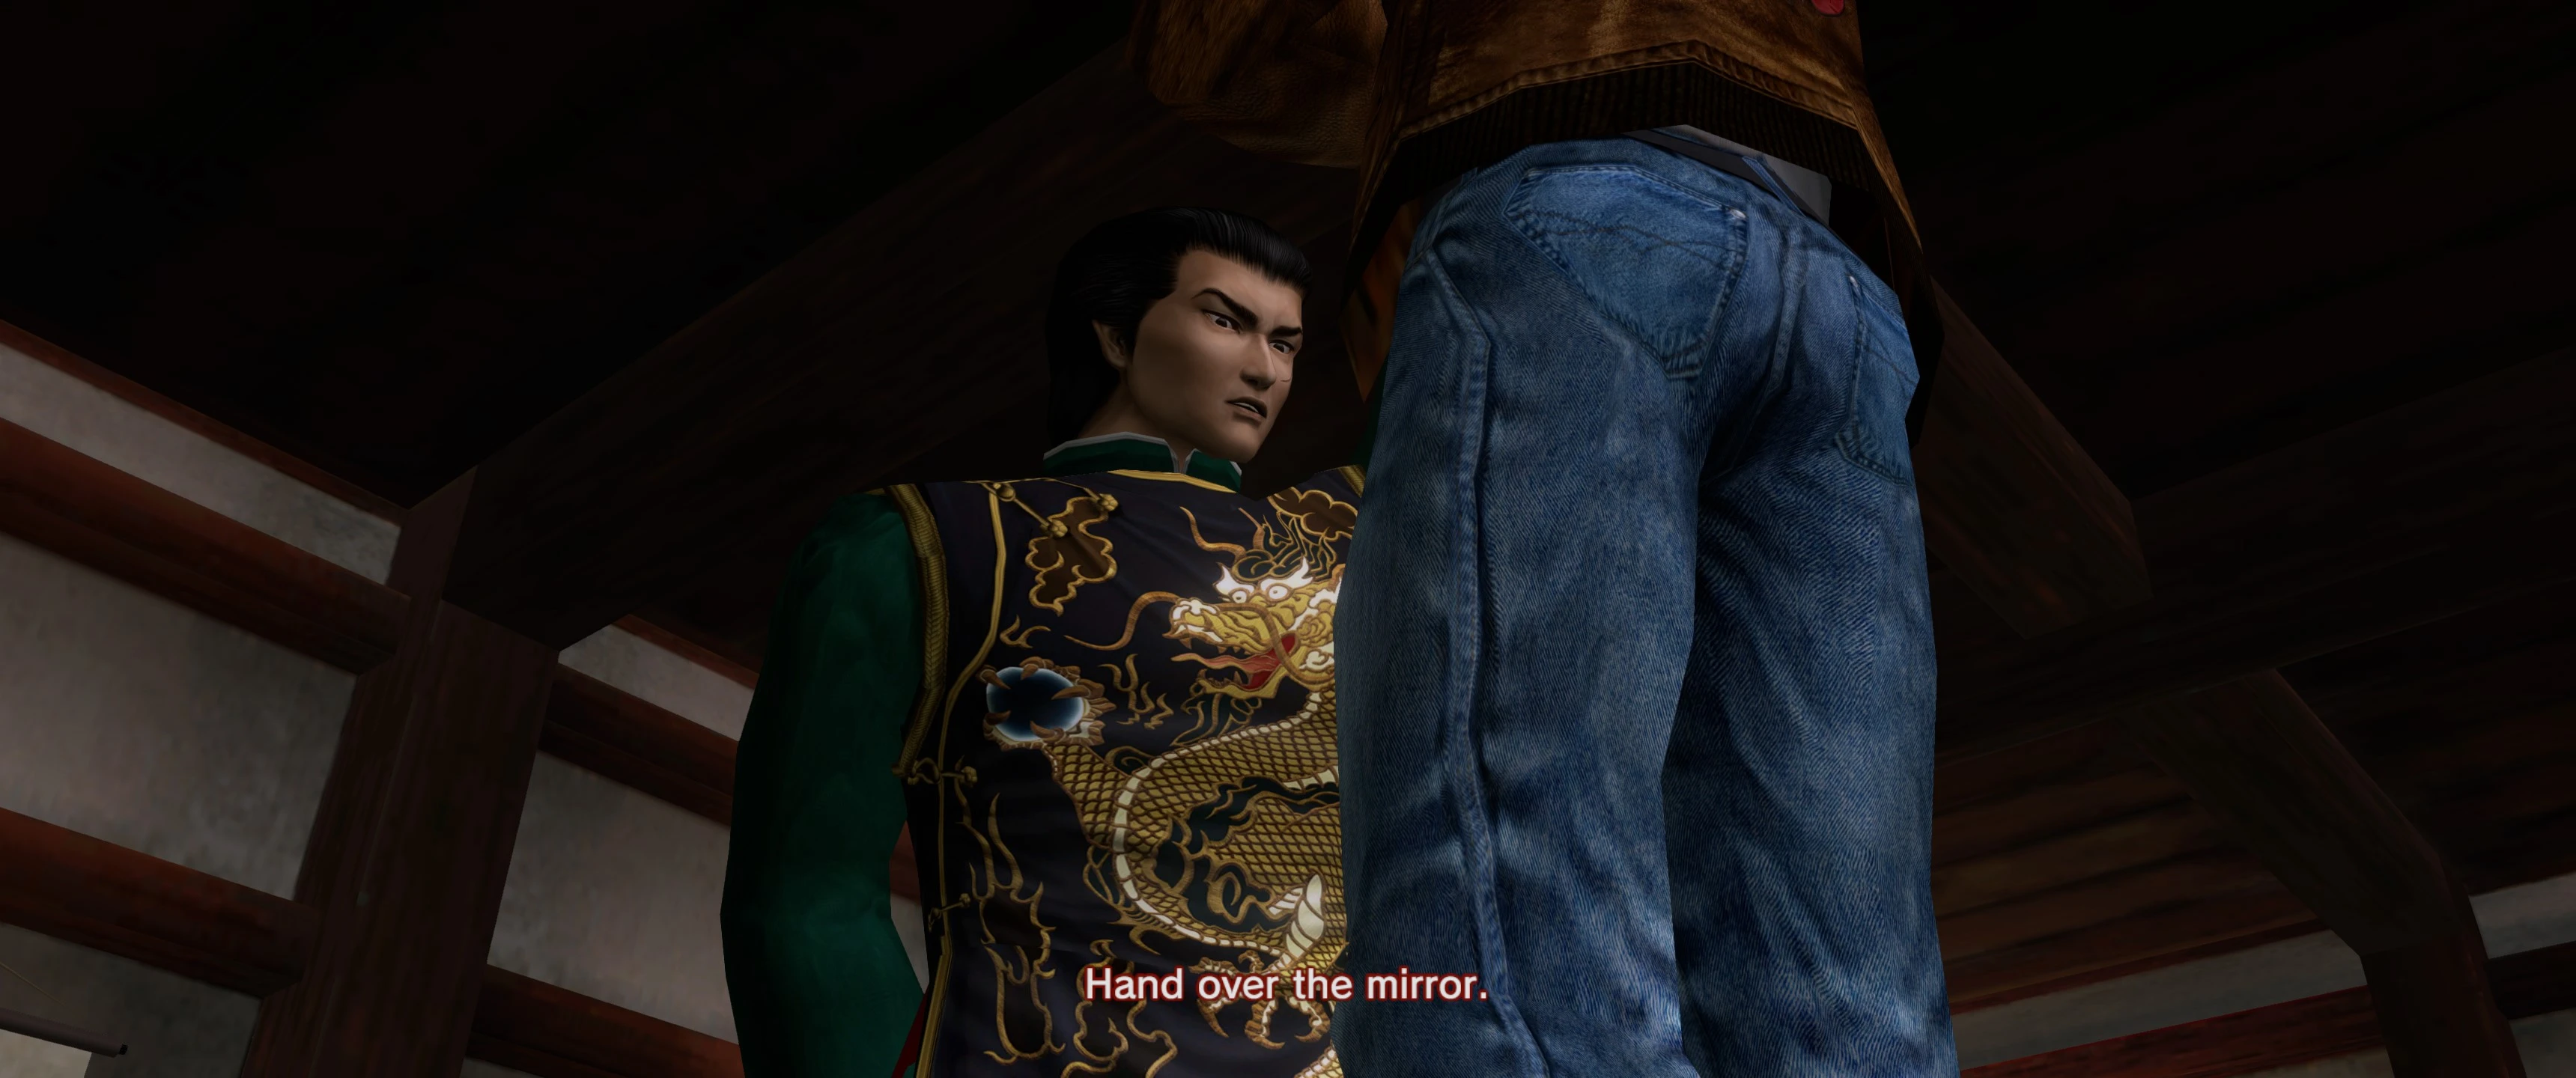
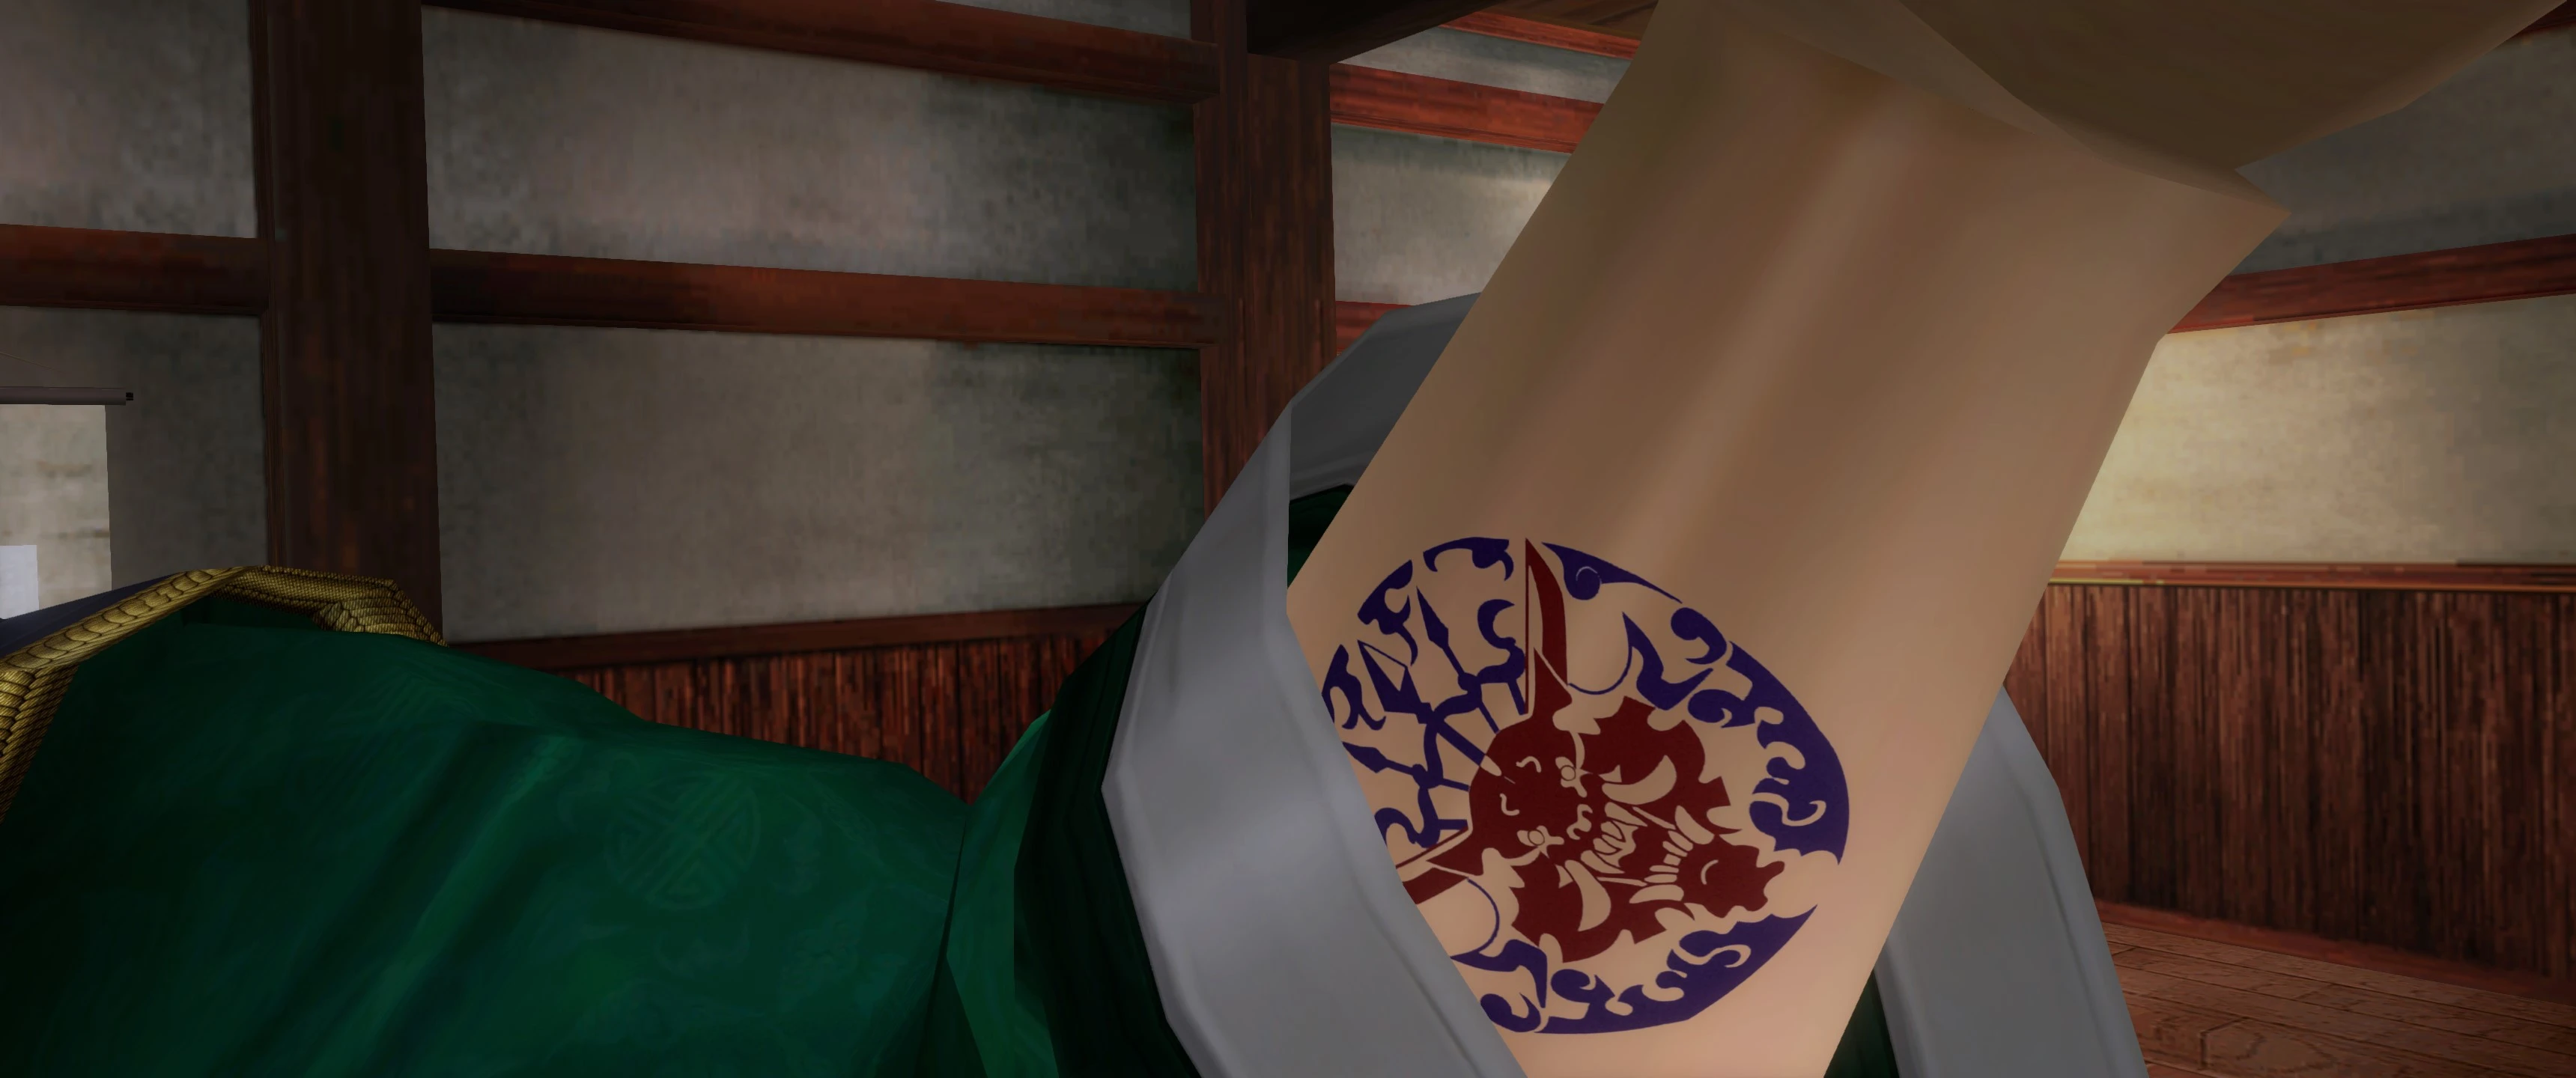
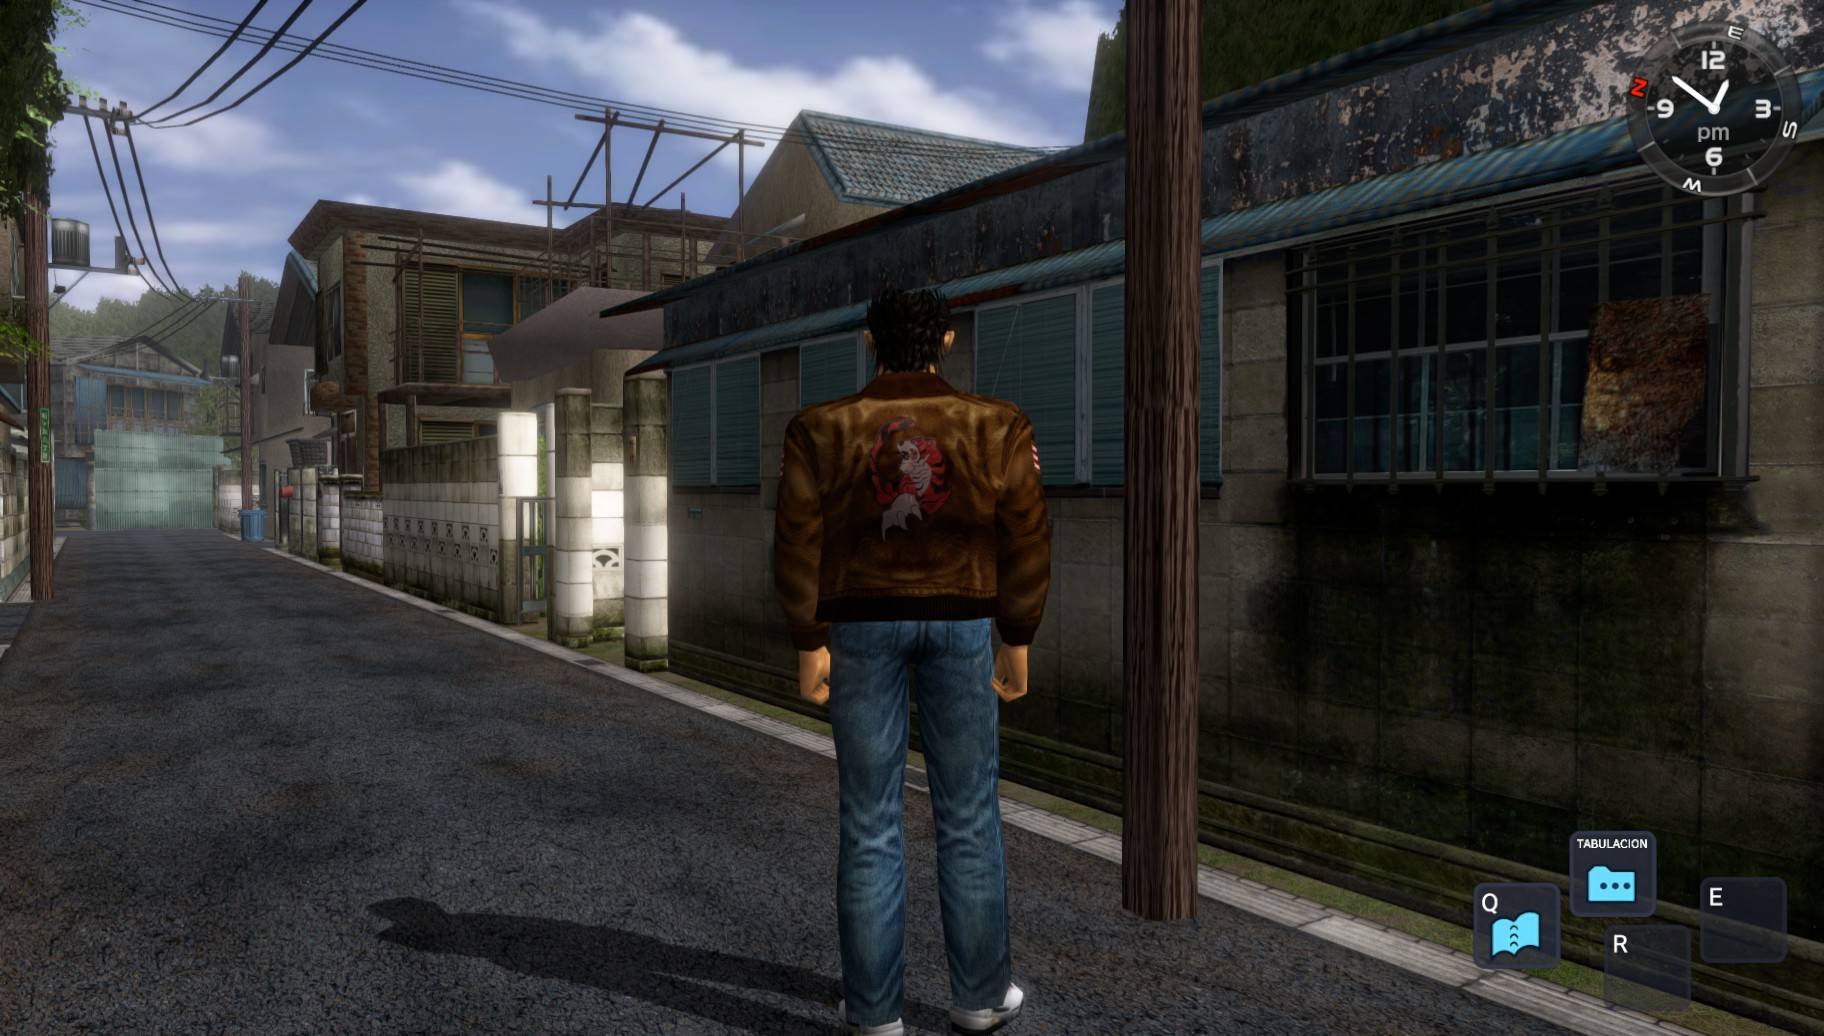
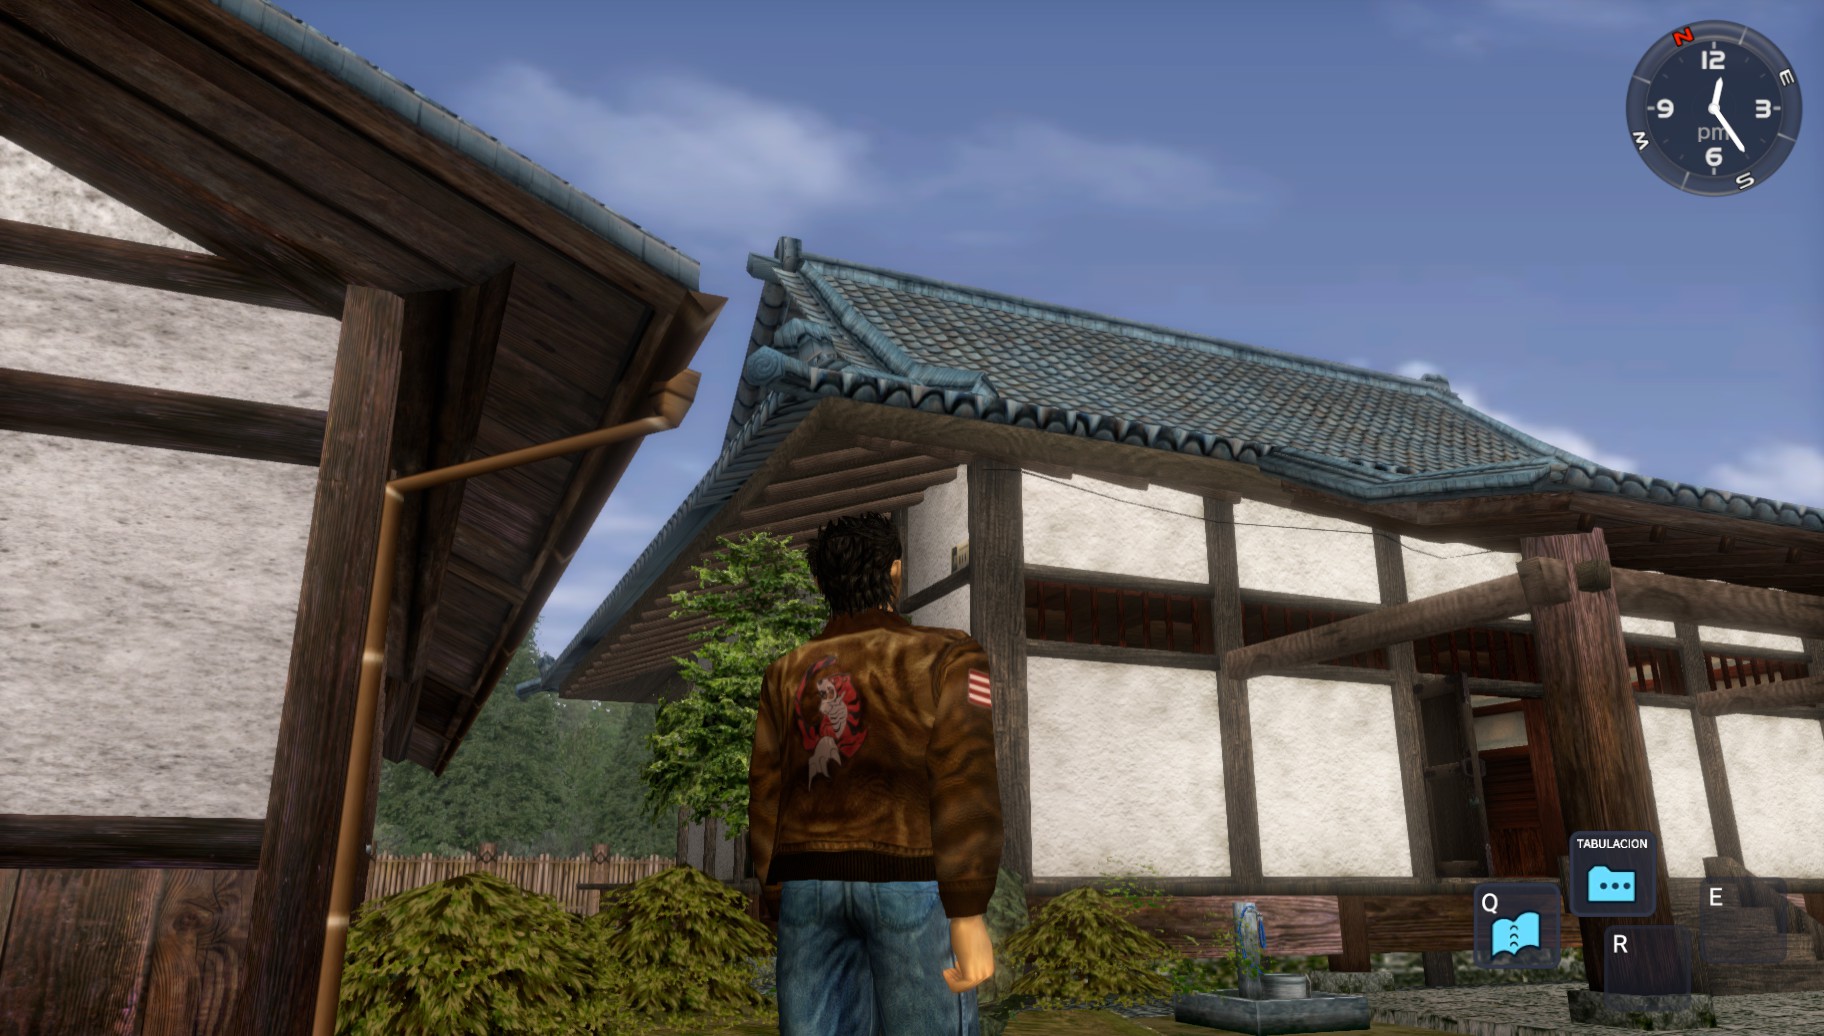
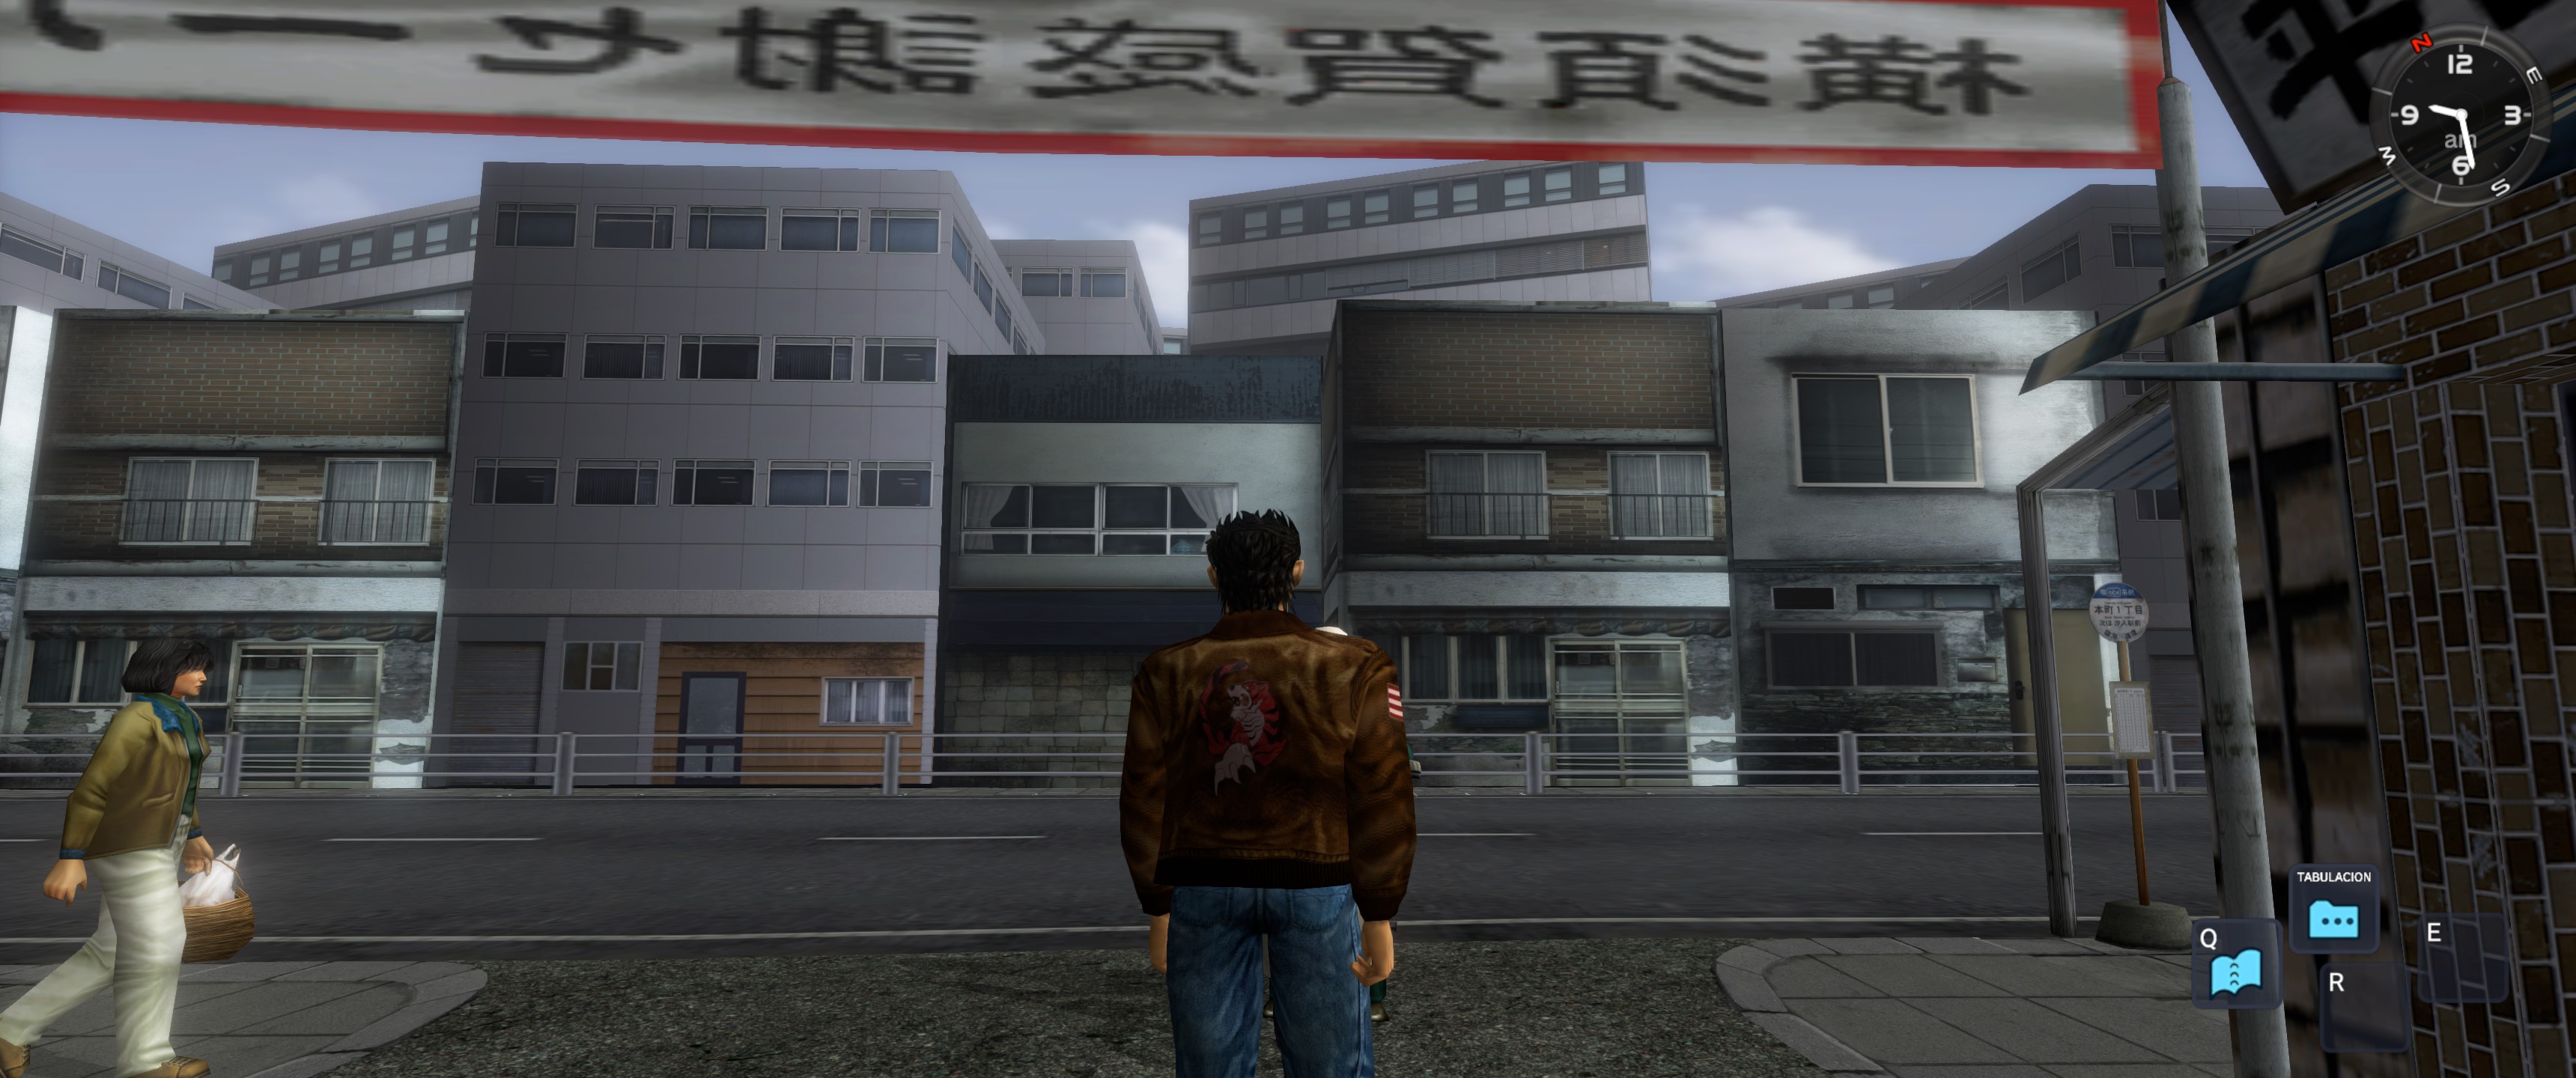
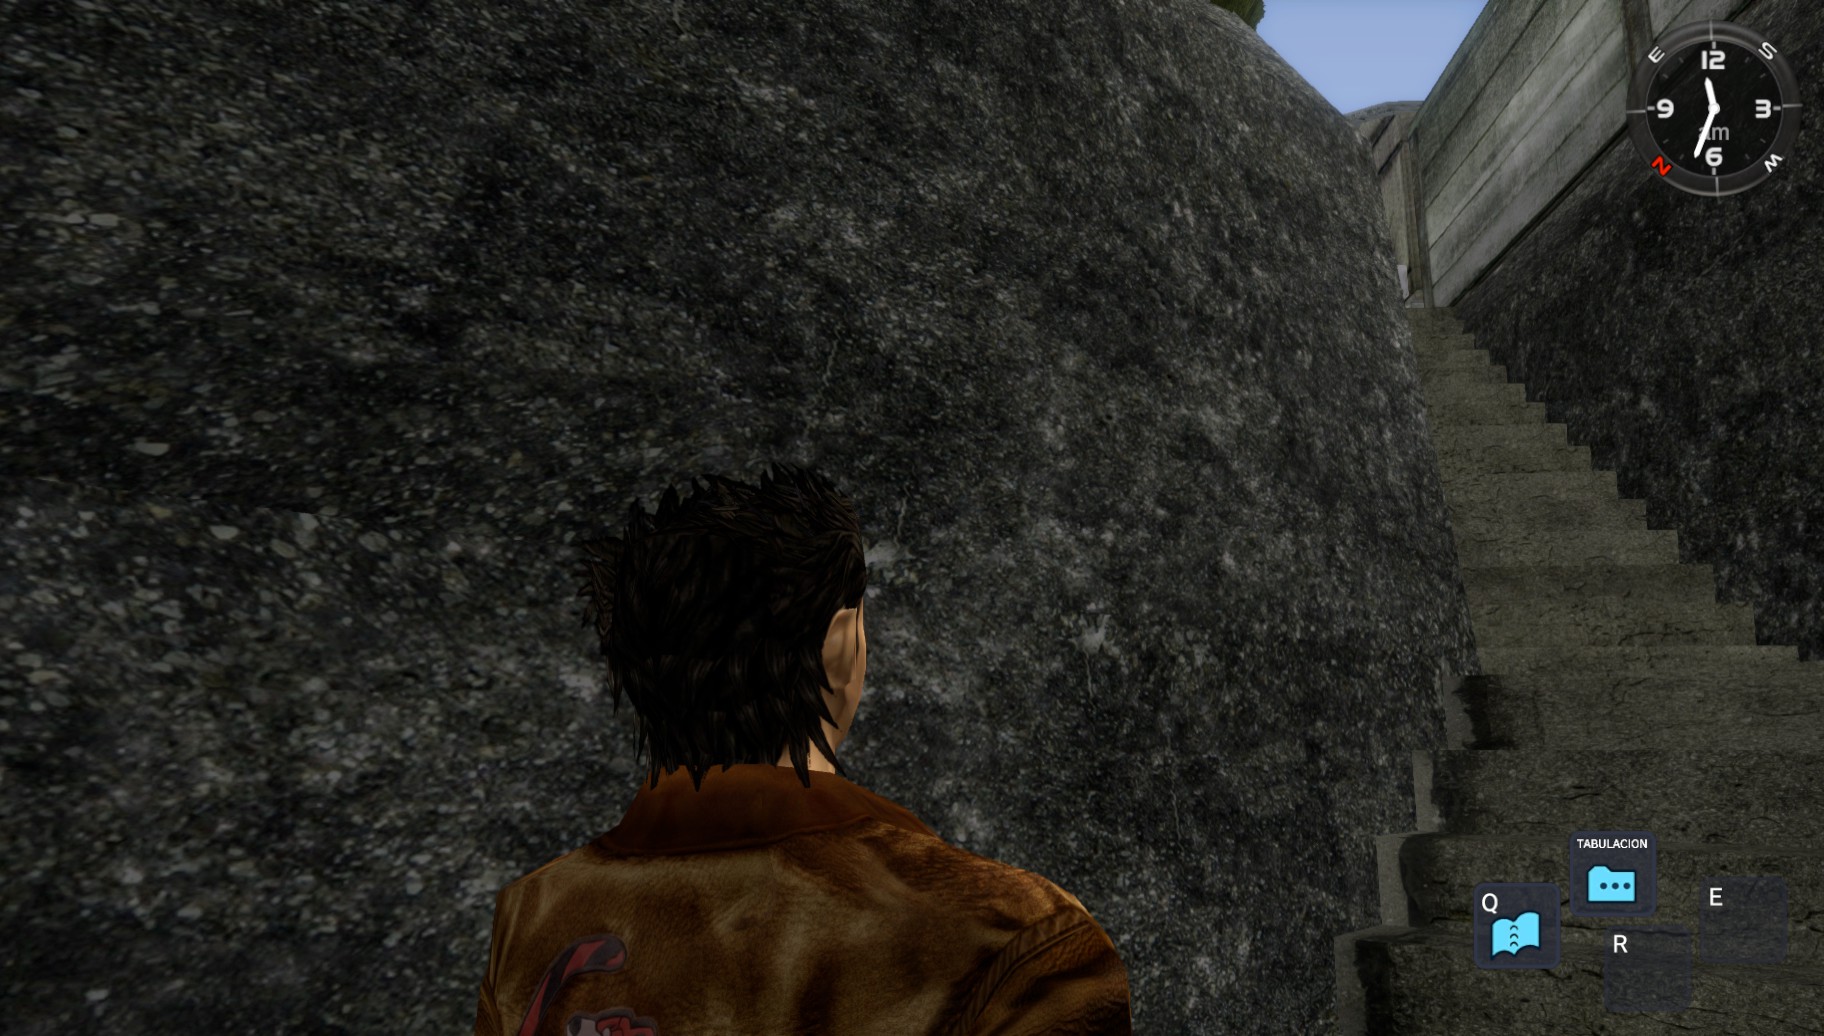
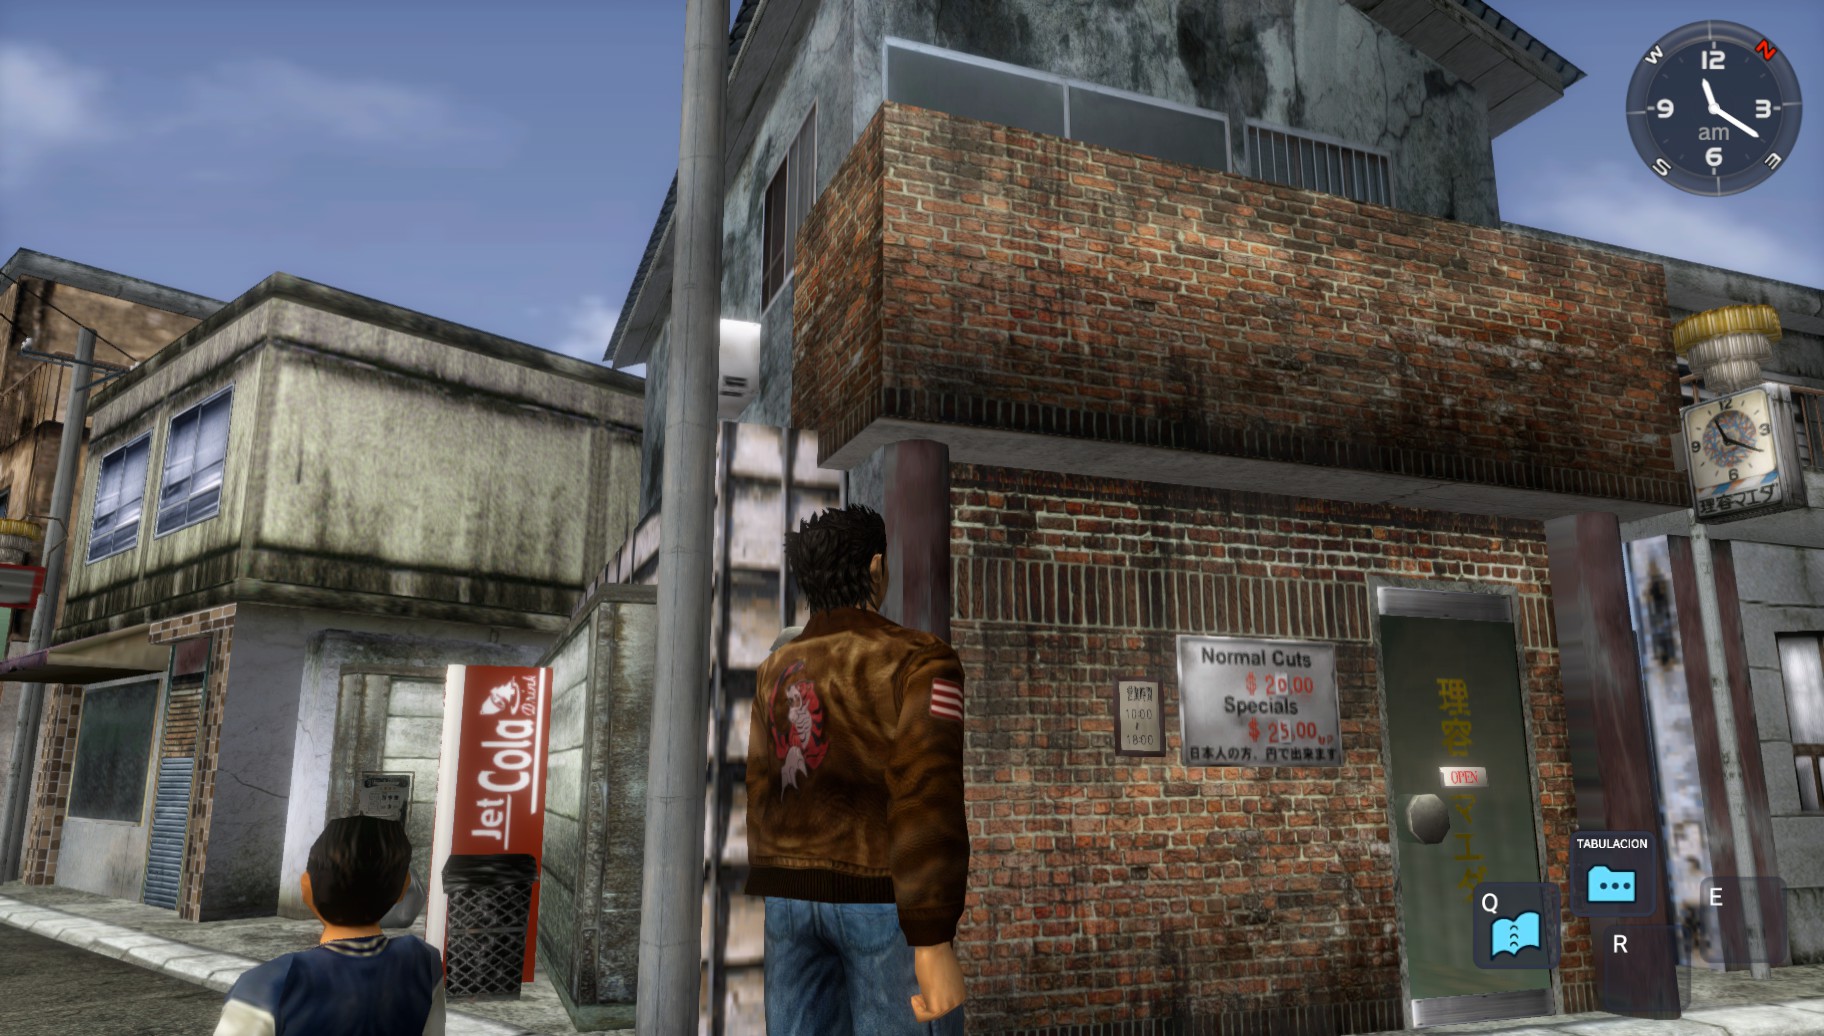
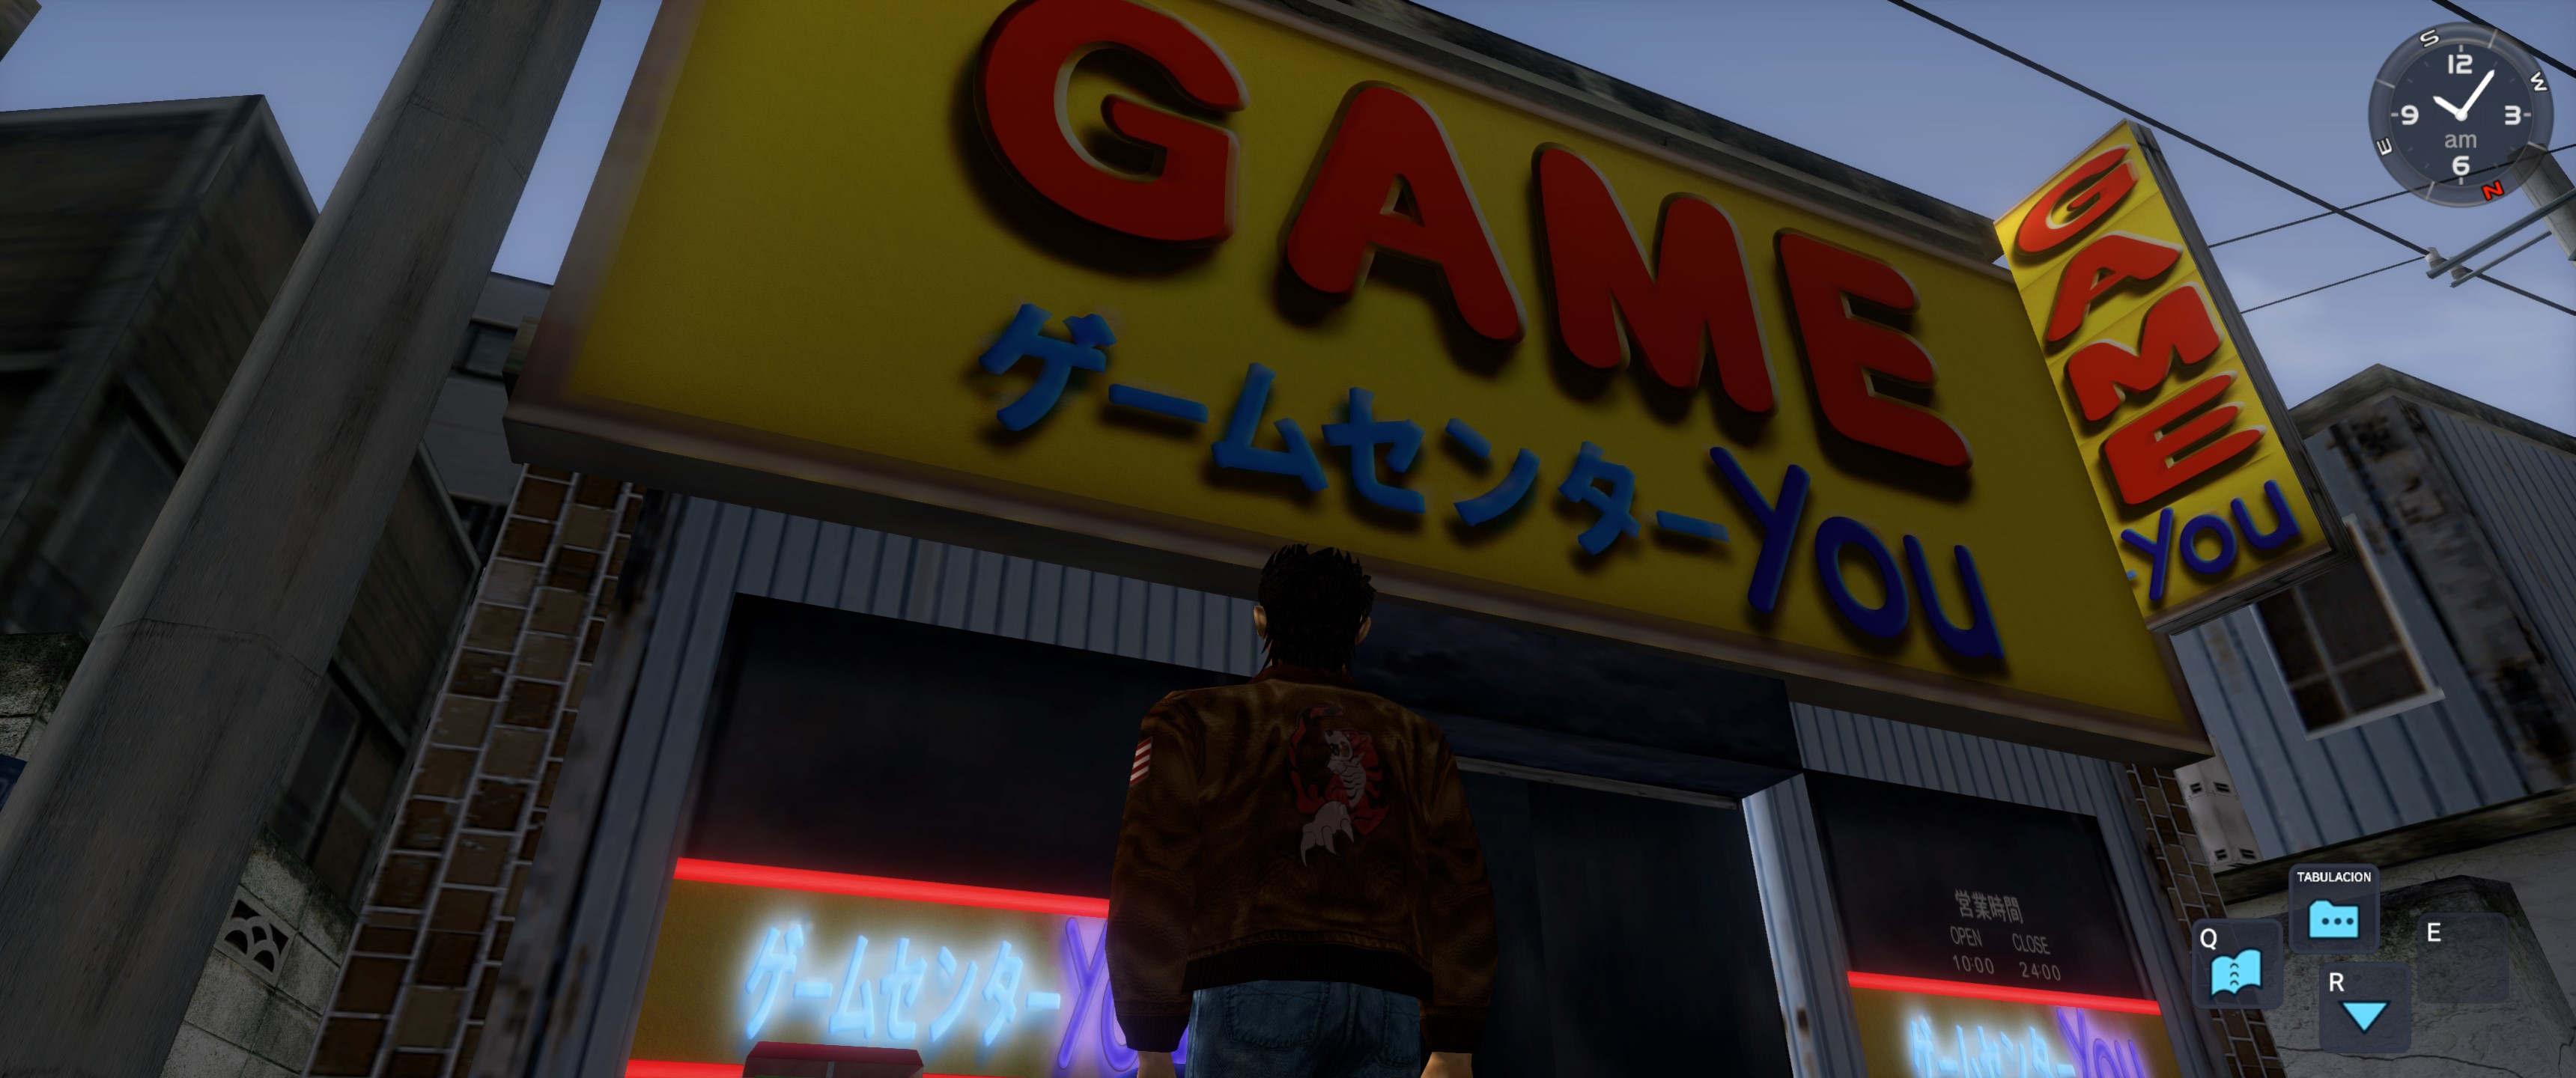
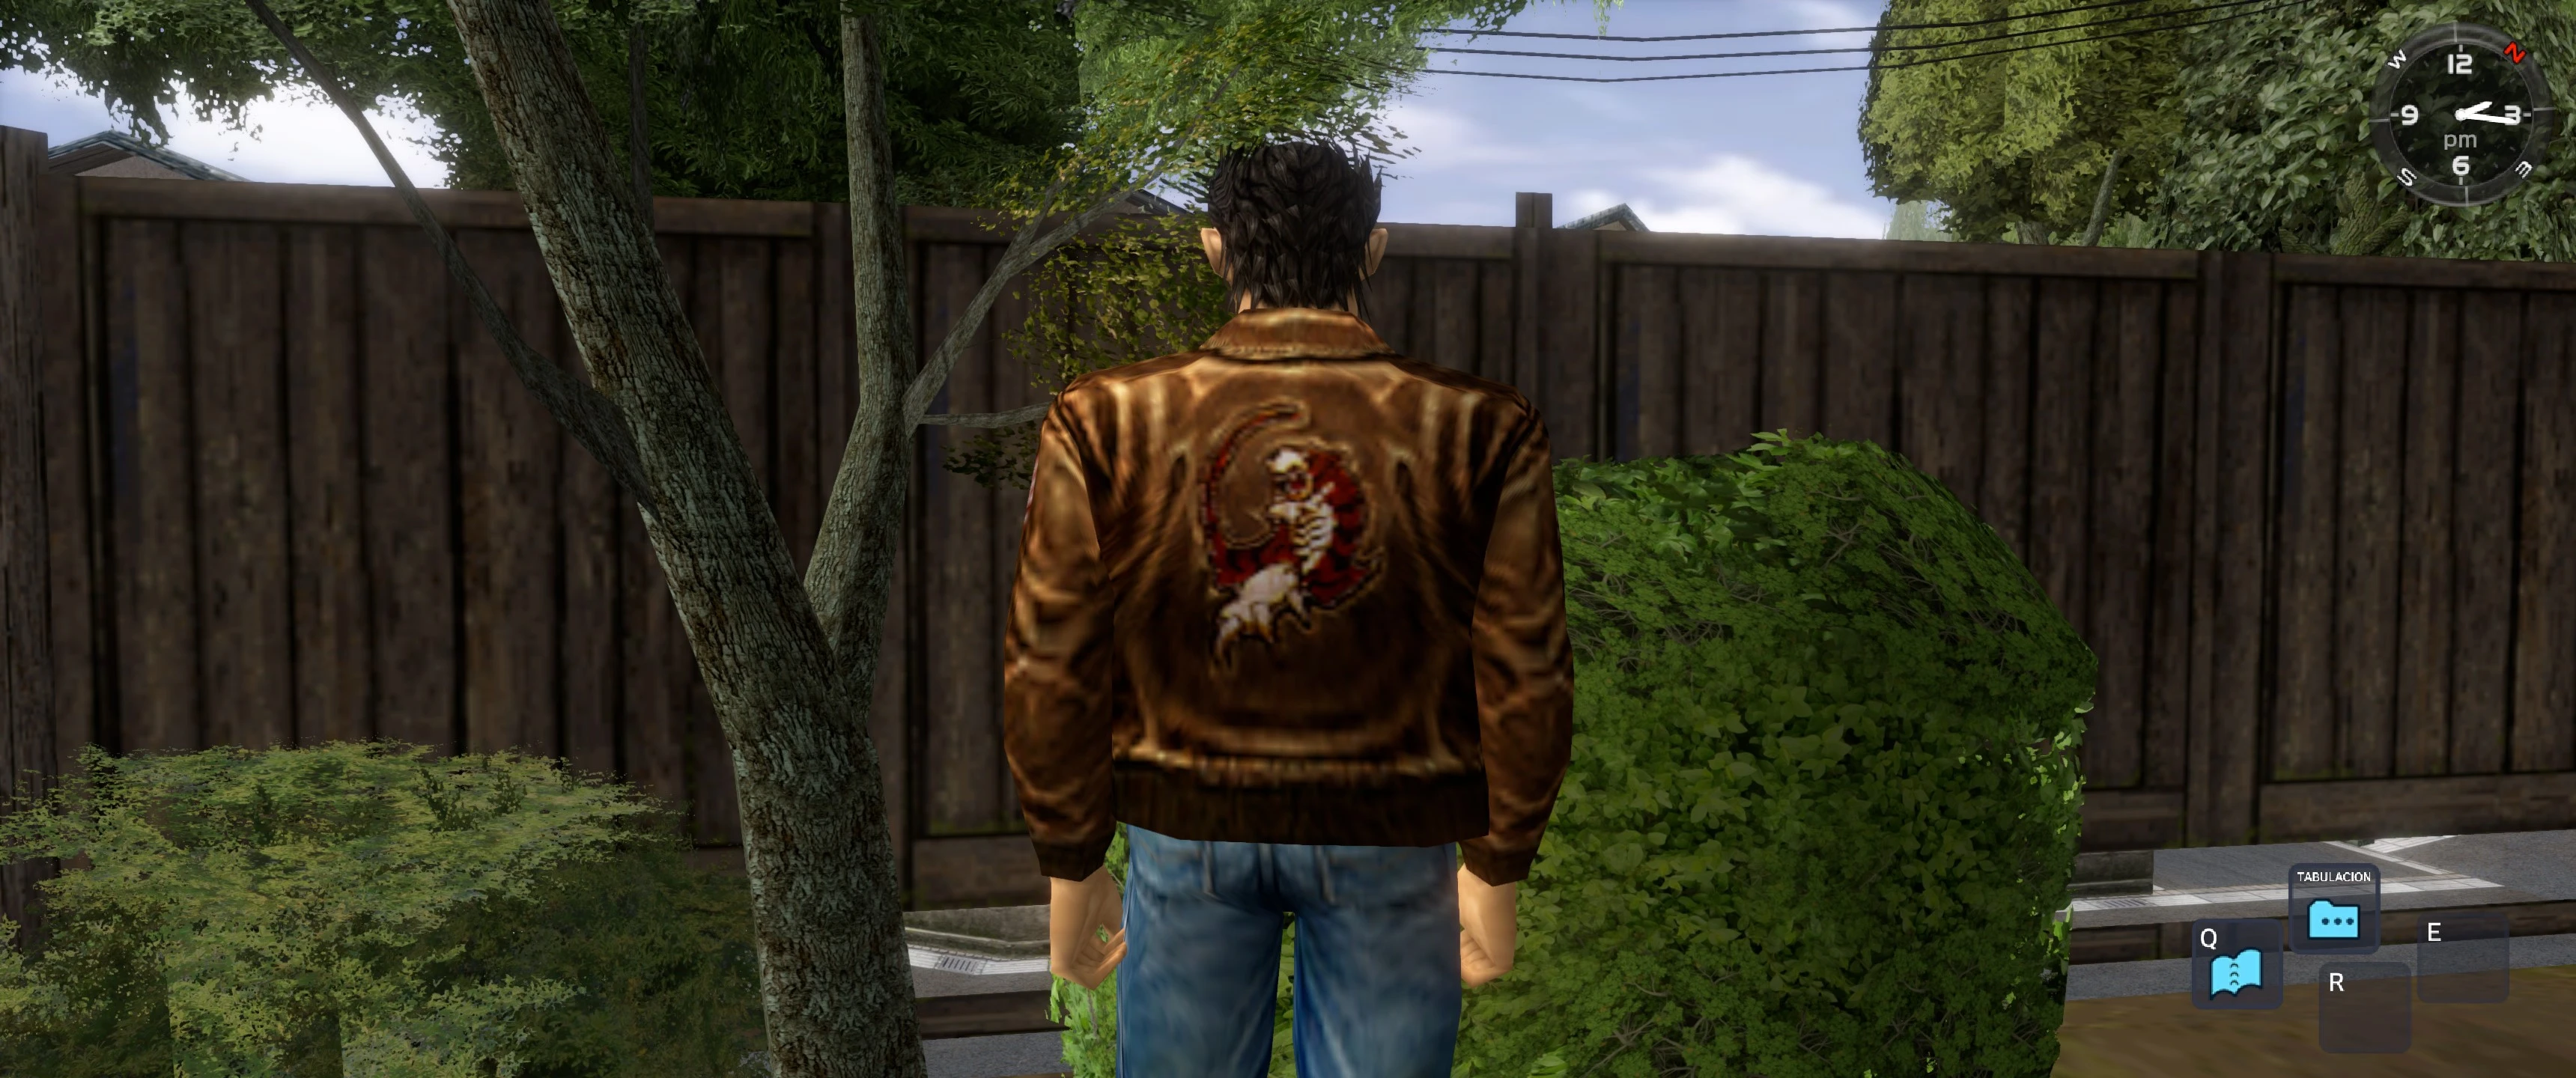
"Better Textures" mod is an overhaul texture pack that enhances a lot of textures in Shenmue replacing the vanilla textures with HD ones. Most of the textures included in this pack have 2k/4k resolution (and bigger!).
My goal throughout this project is to remain true to the original visuals and artistic Yu Suzuki vision, so I continually refer back to the original texture assets to ensure this, respecting the texture colorimetry and patterns with which Yu Suzuki envisioned his game.
This is an stand-alone version so you won't need to install SpecialK nor anything else. You only need to copy and paste some files to get this to work, that’s all! To achieve this, I have used the SDTextureOverride method explained by LemonHaze here in the dojo.
"Better textures" replaces fauna, flora, terrain, rocks, roads, walls and much more.
It can be downloaded from here: https://www.nexusmods.com/shenmue/mods/30/
If you want more information about progress updates or how to support the project, please visit my blog: https://shenmuehdretextured.wordpress.com/
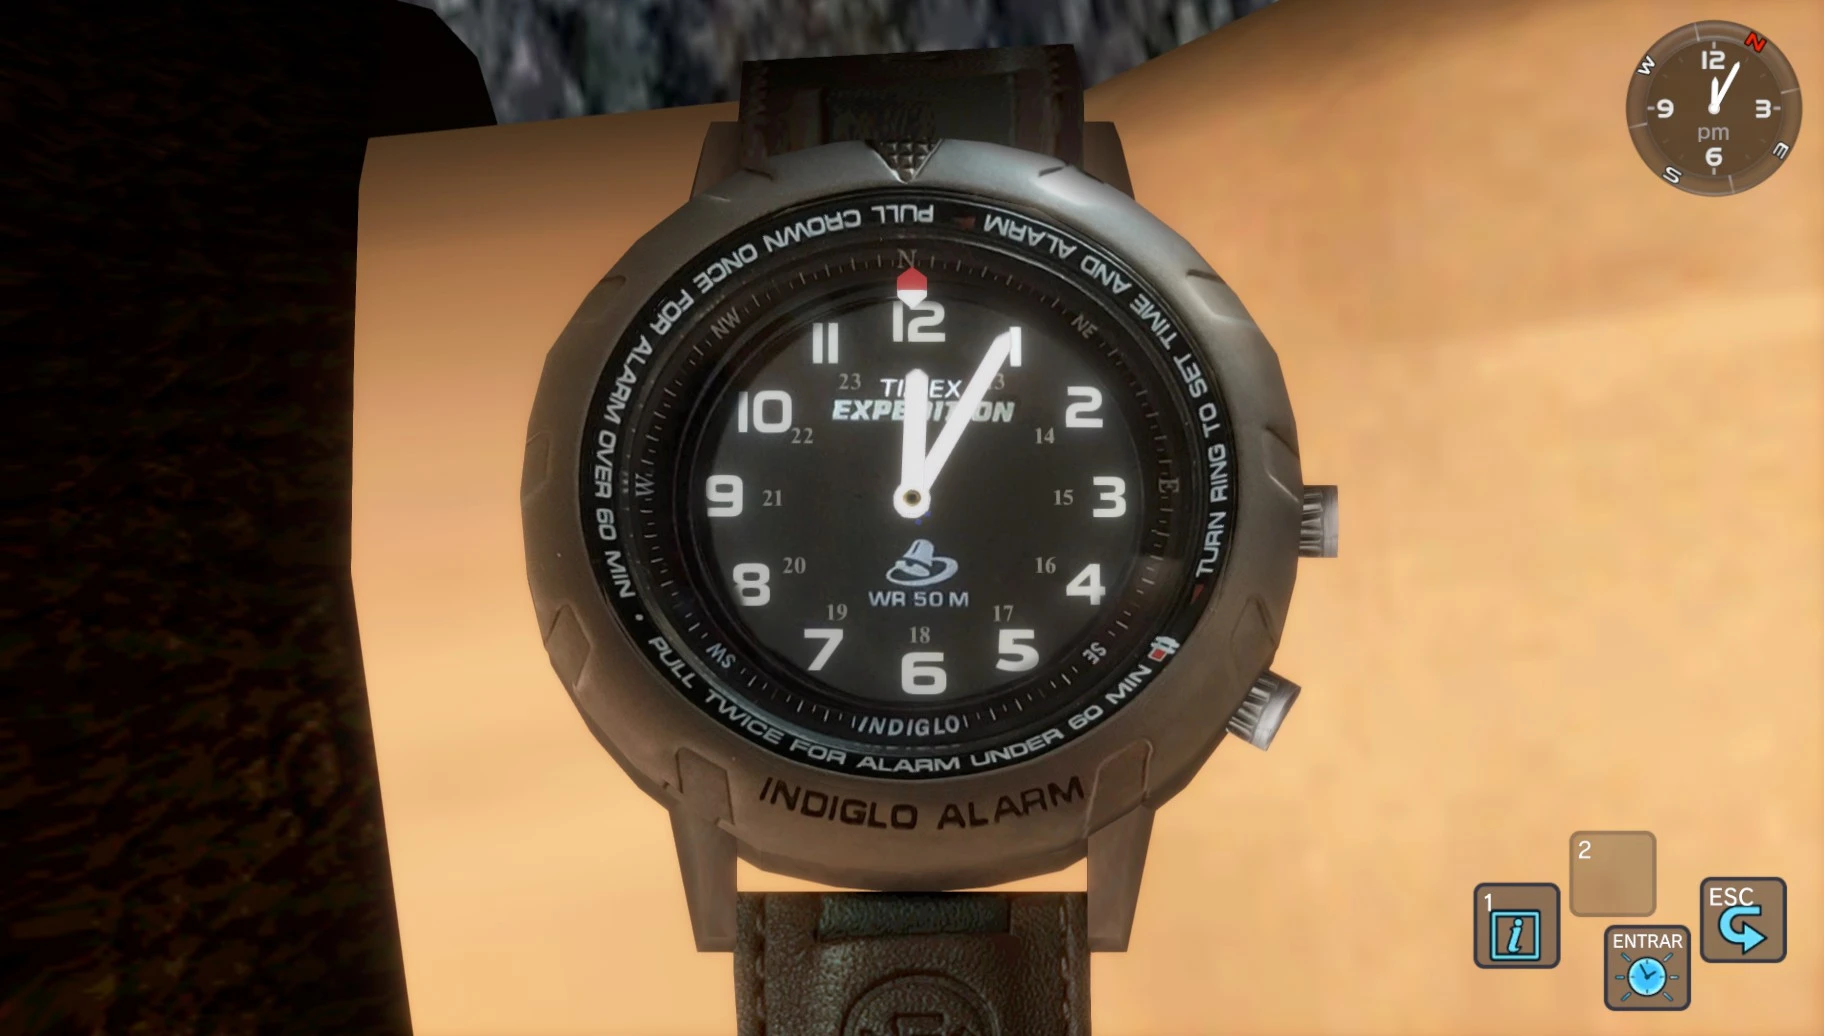
As an optional step you can also install Forklift in order to enable the HD retextured pigeons and Timex watch straps included in this pack. Otherwhise pigeons and Timex strap will have low-def vanilla textures. That’s because pigeon and straps models are loaded by the engine itself and d3t didn’t set them up to be compatible with SDTextureOverride method. So I had to mod the pigeon and strap model itself, and replace the texture there.
Changelog:
UPDATE 28/09/2021: Better Textures v4.1 ready to download. Info and screenshots in post 61
UPDATE 21/09/2021: Better Textures v4.0 ready to download. Info and screenshots in post 56
UPDATE 15/09/2020: Better Textures v3.1 ready to download. Info and screenshots in post 46.
UPDATE 10/09/2020: Better Textures v3.0 ready to download. Info and screenshots in post 38
UPDATE 10/10/2019: Better Textures v2.1 ready to download - Fixed misplaced texture at warehouse nº 8.
UPDATE 09/10/2019: Better Textures v2.0 is now ready to download. Info and screenshots in post nº 20.
If you want "Better Textures" for SpecialK open the spoiler:
First things first. As a prerequisite, you will need SpecialK 0.10 and my full mipmapcache pack.
1. Full Mipmap Texture Pack for SpecialK (Shenmue I)

You have to download this mipmap pack and follow all the instructions from here: https://www.nexusmods.com/shenmue/mods/26
I've copy pasted in the spoiler the install instructions you'll find in nexus. It is very important to follow all the steps carefully:
2. Nature Overhaul for Shenmue I

You can download Nature Overhaul from here: https://www.nexusmods.com/shenmue/mods/27
I've copy pasted in the spoiler the install instructions you'll find in nexus. If you have already installed SpecialK 0.10 and the mipmapcache pack, you can go directly to step 3:
1. Full Mipmap Texture Pack for SpecialK (Shenmue I)
This pack contains up to +6200 generated mipmap textures to use with SpecialK.
SpecialK automatically generates and stores in disk missing mipmaps for textures in order to get a clean, sharp and smooth image quality.
The problem is that the first time you enter an area or meet an NPC you may find that farther textures are completely black because the mipmap hasn’t been generated yet. Only the next time you start the game, after the mipmap has been generated and stored in disk in your first run, SpecialK will display the texture correctly without issues.
That’s why I have played Shenmue I from the start to the end to generate all the needed mipmaps for every texture to solve the issue of black textures.
So, if you are going to install SpecialK, I strongly recommend you to use this mipmap texture pack in order to have a good experience without issues in your first run.
A few mipmaps for capsule toys or rare items may be not generated, but I think 95% of textures are included in this pack.
* This pack is ONLY for Shenmue I. No mipmaps included for Shenmue II. *
You have to download this mipmap pack and follow all the instructions from here: https://www.nexusmods.com/shenmue/mods/26
I've copy pasted in the spoiler the install instructions you'll find in nexus. It is very important to follow all the steps carefully:
This pack contains up to +6200 generated mipmap textures to use with SpecialK.
SpecialK automatically generates and stores in disk missing mipmaps for textures in order to get a clean, sharp and smooth image quality.
The problem is that the first time you enter an area or meet an NPC you may find that farther textures are completely black because the mipmap hasn’t been generated yet. Only the next time you start the game, after the mipmap has been generated and stored in disk in your first run, SpecialK will display the texture correctly without issues.
That’s why I have played Shenmue I from the start to the end to generate all the needed mipmaps for every texture to solve the issue of black textures.
So, if you are going to install SpecialK, I strongly recommend you to use this mipmap texture pack in order to have a good experience without issues in your first run.
A few mipmaps for capsule toys or rare items may be not generated, but I think 95% of textures are included in this pack.
* This pack is ONLY for Shenmue I. No mipmaps included for Shenmue II. *
INSTALL INSTRUCTIONS:
Please, Follow these instructions carefully to avoid any inconvenients:
Step 1 – Download and Install SpecialK It is strongly recommended to use SpecialK v0.10
You can download SpecialK 0.10.0.24 from here: https://github.com/Kaldaien/SpecialK/releases/download/sk_special_projects/SK_Sekiro_HDR10.7z
OR
If you want to use RESHADE, download SpecialK 0.10 for Reshade from here instead: https://github.com/Kaldaien/SpecialK/releases/download/sk_special_projects/SK_Sekiro_ReShade.7z
Unzip the file and copy all the extracted files into sm1 folder.
Do NOT use SpecialK 0.9.x. This version has critical bugs such as random black textures, random misplaced and missing textures as well as stability issues.
Step 2 – Download and unzip this mod (Full Mipmap Texture Pack) and copy the “Mipmapcache” folder into the SpecialK inject texture folder, usually under C:\Program Files (x86)\Steam\steamapps\common\SMLaunch\sm1\SK_Res\inject\textures\

Step 3 –VERY IMPORTANT! Protect the mipmapcache folder against writing following these instructions:
Why? Shenmue uses procedural textures to recreate effects like smoke, steam, dust and other particles. For example the teapot in the Harbour Tomato Store or in the Alpha Trading Office generates procedural steam textures all the time. In fights, smoke and dust particles usually appear when hitting opponents.

Ok, so what’s the problem? SpecialK can’t manage well procedural textures. It will try to generate and store mipmaps for all the procedural textures that appears ingame, generating thousands and thousands of mipmaps in few minutes until collapsing the mipmapcache folder.
You will notice a lot of activity from your hard drive trying to store thousands of mipmaps from these procedural textures until you leave the area or finish the fight. This is especially problematic in the "70 men battle" because it is a very long battle.
So, If you don’t want this to happen, you have to do the following:
Step 3.1 - Right click on your mipmapcache folder (usually under C:\Program Files (x86)\Steam\steamapps\common\SMLaunch\sm1\SK_Res\inject\textures\mipmapcache) and select Properties on the context menu.

Step 3.2 –Click on the Security tab and then click the edit button in order to change permissions.

Step 3.3 – In the new window titled “Permissions for Mipmapcache”, select “AUTHENTICATED USERS” or “EVERYONE” user In "Group or user names" box.
Then go to the scrolling box titled “Permissions for Authenticated Users (or Everyone)” and scroll down until Write option.
Check the box DENY for Write permission.
Click Apply, Yes, Ok and Ok to close both windows.

Step 4 –You are done! Enjoy the perfect experience and don’t forget to install my texture packs!

FAQ
Common problems:
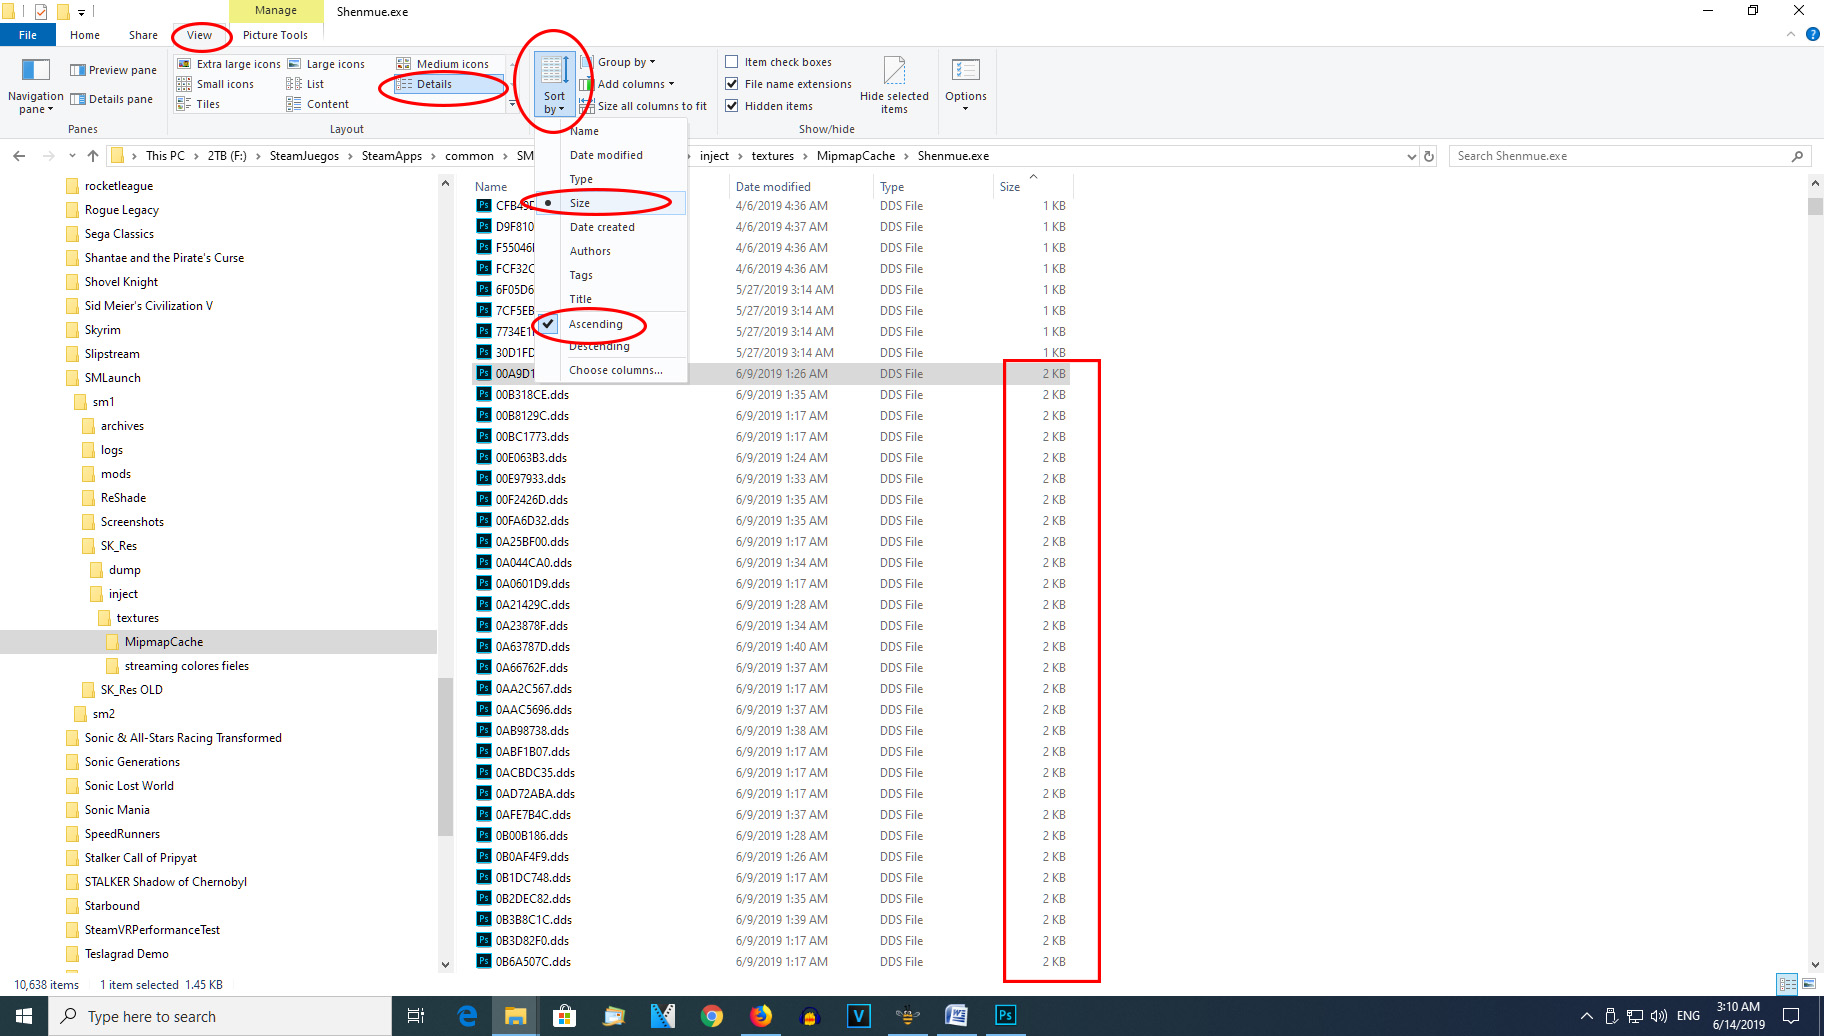
Question 1 - I forgot to protect my mipmapcache folder against writing as stated in step 3 and now my mipmapcache folder has grown a lot with thousand of dds files. What can I do?
Don’t worry, you only have to delete some files. Open the mipmapcache folder with your file Explorer. Open the subfolder “Shenmue.exe”. Click on View tab. Select View-> Details and Sort by -> Size.
Mipmap caches generated from procedural textures have a size of 2 KB (1492 bytes). So, select all the dds files with a size of 2 KB (you can click on the first 2KB file and then with control + shift + click select the last file with a size of 2KB in order to select the group of files) and remove it.
Don’t forget after that to protect the folder against writing.
Question 2 – All the textures are white! What can I do?

Probably you forgot to protect your mipmapcache folder against writing as explained in step 3 and now you have so many textures in your mipmapcache folder that SpecialK can’t process them. Follow the same procedure used above for question number 1.
Question 3 – I prefer not to mess with system permissions. Is there any other solution to prevent the massive generation of mipmap textures?
Yes, thereis another way but it is not optimal. You have to turn off mipmap generation but doing that the textures will be more pixelated and less smooth. You have to look for the option GenerateMipmaps in the .ini config file of SpecialK (d3d11.ini in v0.10 or dxgi.ini if you are using SpecialK for Reshade or SpecialK v0.9):
[Textures.D3D11] Cache=true
PreciseHash=false
Inject=true
InjectionKeepsFormat=false
GenerateMipmaps=false
Unfortunatelly with SpecialK v0.10 the option doesn’t seem to work. Something is preventing to make thechange permanent because everytime the game starts, generatemipmaps value reverts back to true in the ini file. At least with the versions that I have tested, so you will have to use SpecialK 0.9 if you want to disable generatemipmaps.
SpecialK automatically generates and stores in disk missing mipmaps for textures in order to get a clean, sharp and smooth image quality.
The problem is that the first time you enter an area or meet an NPC you may find that farther textures are completely black because the mipmap hasn’t been generated yet. Only the next time you start the game, after the mipmap has been generated and stored in disk in your first run, SpecialK will display the texture correctly without issues.
That’s why I have played Shenmue I from the start to the end to generate all the needed mipmaps for every texture to solve the issue of black textures.
So, if you are going to install SpecialK, I strongly recommend you to use this mipmap texture pack in order to have a good experience without issues in your first run.
A few mipmaps for capsule toys or rare items may be not generated, but I think 95% of textures are included in this pack.
* This pack is ONLY for Shenmue I. No mipmaps included for Shenmue II. *
INSTALL INSTRUCTIONS:
Please, Follow these instructions carefully to avoid any inconvenients:
Step 1 – Download and Install SpecialK It is strongly recommended to use SpecialK v0.10
You can download SpecialK 0.10.0.24 from here: https://github.com/Kaldaien/SpecialK/releases/download/sk_special_projects/SK_Sekiro_HDR10.7z
OR
If you want to use RESHADE, download SpecialK 0.10 for Reshade from here instead: https://github.com/Kaldaien/SpecialK/releases/download/sk_special_projects/SK_Sekiro_ReShade.7z
Unzip the file and copy all the extracted files into sm1 folder.
Do NOT use SpecialK 0.9.x. This version has critical bugs such as random black textures, random misplaced and missing textures as well as stability issues.
Step 2 – Download and unzip this mod (Full Mipmap Texture Pack) and copy the “Mipmapcache” folder into the SpecialK inject texture folder, usually under C:\Program Files (x86)\Steam\steamapps\common\SMLaunch\sm1\SK_Res\inject\textures\
Step 3 –VERY IMPORTANT! Protect the mipmapcache folder against writing following these instructions:
Why? Shenmue uses procedural textures to recreate effects like smoke, steam, dust and other particles. For example the teapot in the Harbour Tomato Store or in the Alpha Trading Office generates procedural steam textures all the time. In fights, smoke and dust particles usually appear when hitting opponents.
Ok, so what’s the problem? SpecialK can’t manage well procedural textures. It will try to generate and store mipmaps for all the procedural textures that appears ingame, generating thousands and thousands of mipmaps in few minutes until collapsing the mipmapcache folder.
You will notice a lot of activity from your hard drive trying to store thousands of mipmaps from these procedural textures until you leave the area or finish the fight. This is especially problematic in the "70 men battle" because it is a very long battle.
So, If you don’t want this to happen, you have to do the following:
Step 3.1 - Right click on your mipmapcache folder (usually under C:\Program Files (x86)\Steam\steamapps\common\SMLaunch\sm1\SK_Res\inject\textures\mipmapcache) and select Properties on the context menu.
Step 3.2 –Click on the Security tab and then click the edit button in order to change permissions.
Step 3.3 – In the new window titled “Permissions for Mipmapcache”, select “AUTHENTICATED USERS” or “EVERYONE” user In "Group or user names" box.
Then go to the scrolling box titled “Permissions for Authenticated Users (or Everyone)” and scroll down until Write option.
Check the box DENY for Write permission.
Click Apply, Yes, Ok and Ok to close both windows.
Step 4 –You are done! Enjoy the perfect experience and don’t forget to install my texture packs!
FAQ
Common problems:
Question 1 - I forgot to protect my mipmapcache folder against writing as stated in step 3 and now my mipmapcache folder has grown a lot with thousand of dds files. What can I do?
Don’t worry, you only have to delete some files. Open the mipmapcache folder with your file Explorer. Open the subfolder “Shenmue.exe”. Click on View tab. Select View-> Details and Sort by -> Size.
Mipmap caches generated from procedural textures have a size of 2 KB (1492 bytes). So, select all the dds files with a size of 2 KB (you can click on the first 2KB file and then with control + shift + click select the last file with a size of 2KB in order to select the group of files) and remove it.
Don’t forget after that to protect the folder against writing.
Question 2 – All the textures are white! What can I do?
Probably you forgot to protect your mipmapcache folder against writing as explained in step 3 and now you have so many textures in your mipmapcache folder that SpecialK can’t process them. Follow the same procedure used above for question number 1.
Question 3 – I prefer not to mess with system permissions. Is there any other solution to prevent the massive generation of mipmap textures?
Yes, thereis another way but it is not optimal. You have to turn off mipmap generation but doing that the textures will be more pixelated and less smooth. You have to look for the option GenerateMipmaps in the .ini config file of SpecialK (d3d11.ini in v0.10 or dxgi.ini if you are using SpecialK for Reshade or SpecialK v0.9):
[Textures.D3D11] Cache=true
PreciseHash=false
Inject=true
InjectionKeepsFormat=false
GenerateMipmaps=false
Unfortunatelly with SpecialK v0.10 the option doesn’t seem to work. Something is preventing to make thechange permanent because everytime the game starts, generatemipmaps value reverts back to true in the ini file. At least with the versions that I have tested, so you will have to use SpecialK 0.9 if you want to disable generatemipmaps.
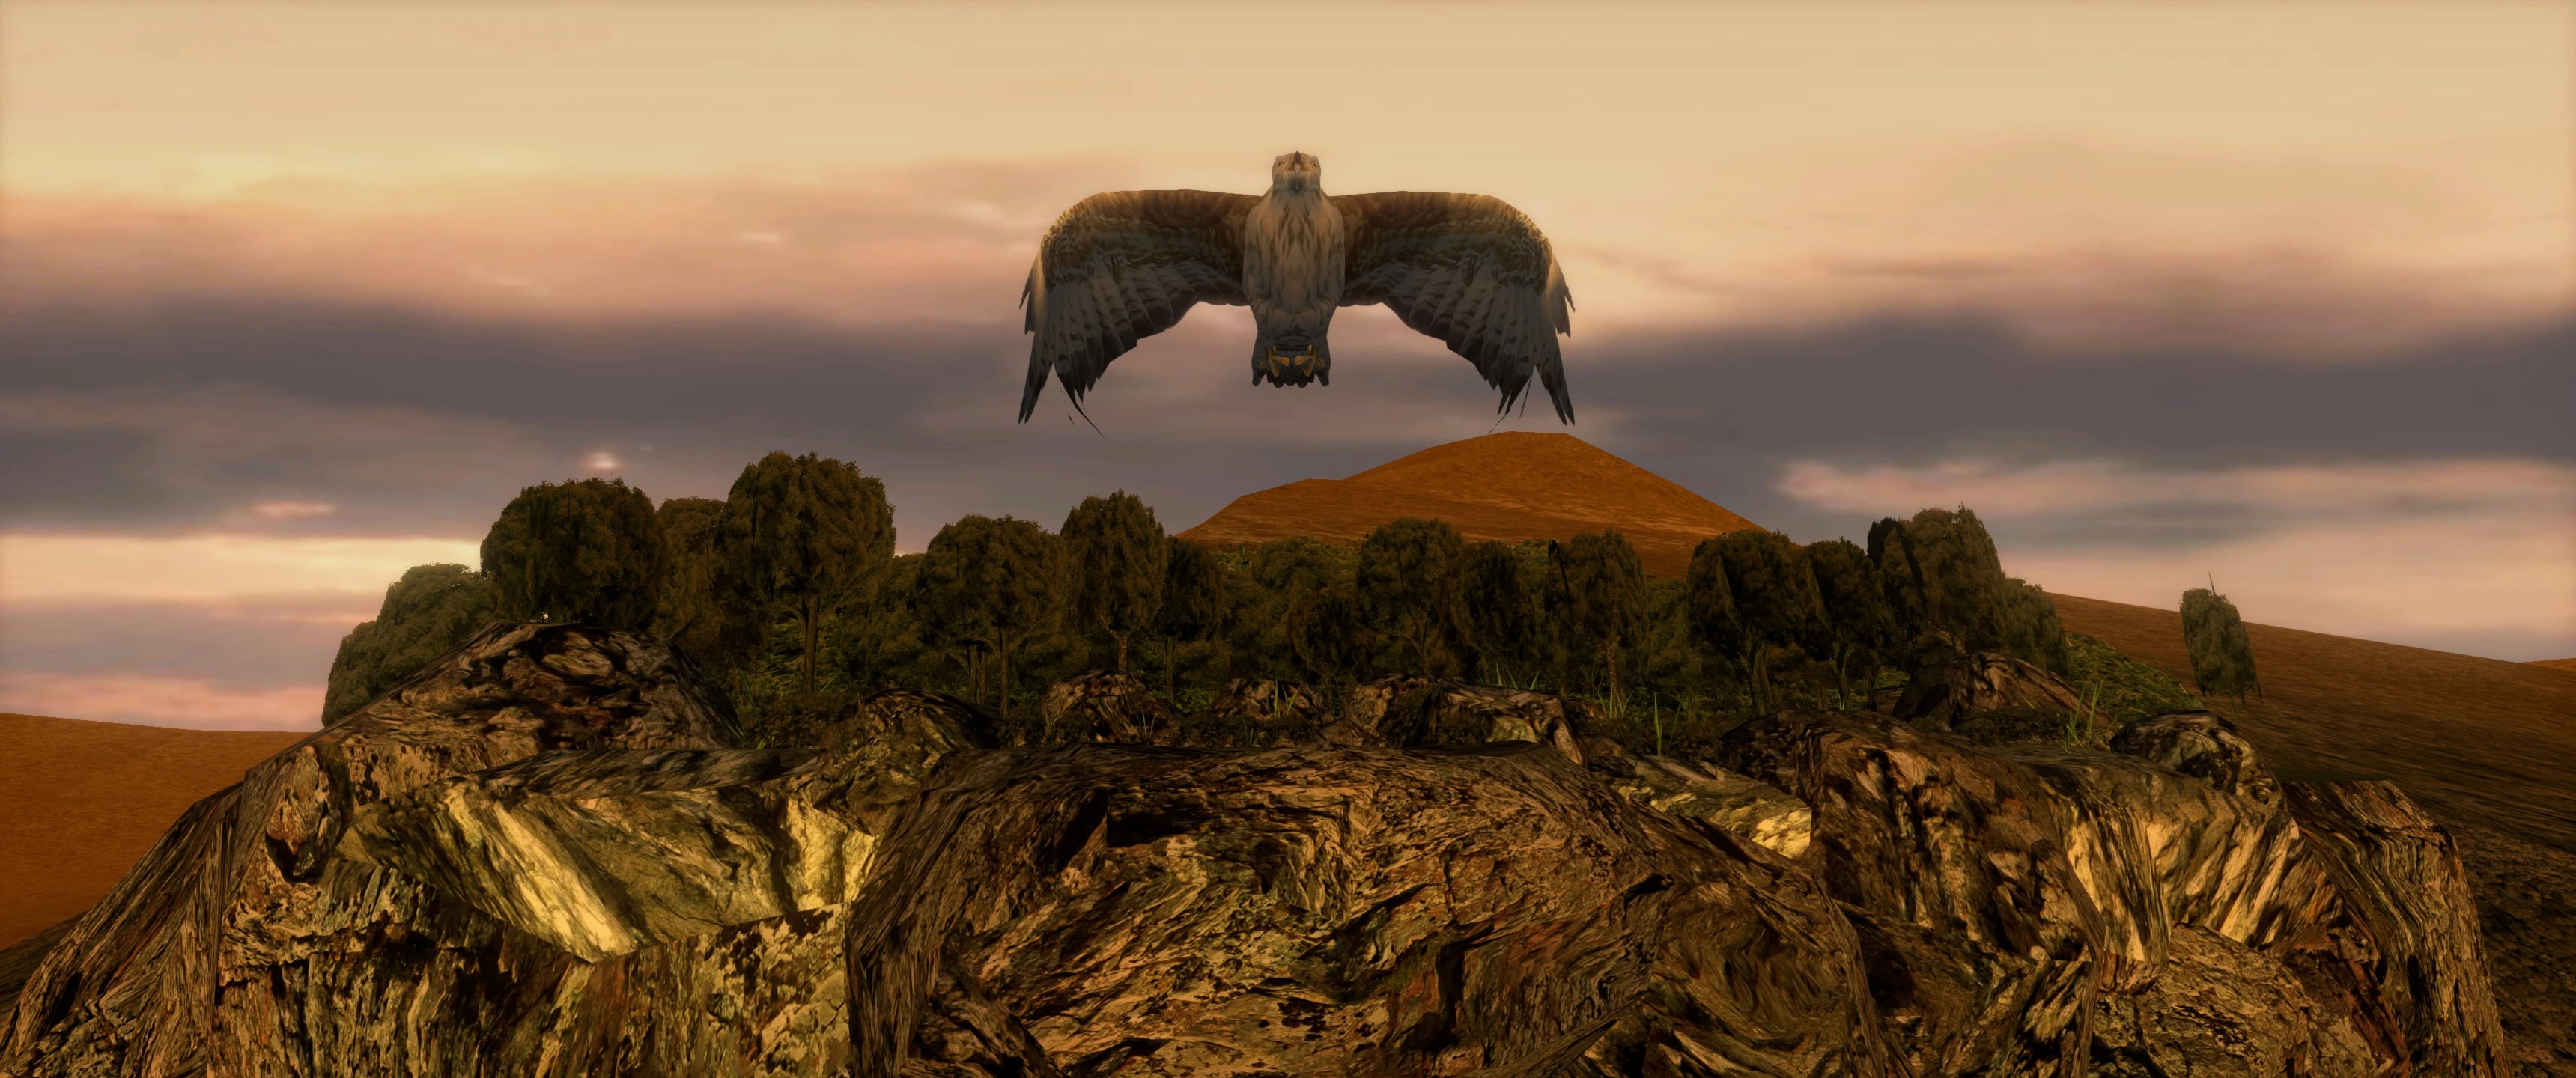
2. Nature Overhaul for Shenmue I
This pack replaces all flora and fauna in Shenmue I with HD textures. Most of these new textures have a resolution of 1024x1024, 2048x2048 or 4096x4096 pixels.
This pack includes HD textures for:
Tree’s foliage, leaves, barks and branches.
Tree backgrounds
Bushes
Grasses
Flowers
Plants
Plant pots
Christmas and New Eve ornaments
Shenhua’s intro environment textures (trees, plants, bushes and mountains)
Opening intro nature textures
Snow textures
Moon texture in Shenhua scene
Fauna (Cats, dogs, birds, fish)
All these textures include their snowy version if it is required.
You can download Nature Overhaul from here: https://www.nexusmods.com/shenmue/mods/27
I've copy pasted in the spoiler the install instructions you'll find in nexus. If you have already installed SpecialK 0.10 and the mipmapcache pack, you can go directly to step 3:
Please, Follow these instructions carefully to avoid any inconvenients:
Step 1 – Download and Install SpecialK It is strongly recommended to use SpecialK v0.10
You can download SpecialK 0.10.0.24 from here: https://github.com/Kaldaien/SpecialK/releases/download/sk_special_projects/SK_Sekiro_HDR10.7z
OR
If you want to use RESHADE, download SpecialK 0.10 for Reshade from here instead: https://github.com/Kaldaien/SpecialK/releases/download/sk_special_projects/SK_Sekiro_ReShade.7z
Unzip the file and copy all the extracted files into sm1 folder.
Do NOT use SpecialK 0.9.x. This version has critical bugs such as random black textures, random misplaced and missing textures as well as stability issues.
Step 2 – Download and Install my Full Mipmap Texture Pack from here: https://www.nexusmods.com/shenmue/mods/26 following the instructions step by step that you will find in the link.
(IMPORTANT: DO NOT FORGET TO PROTECT YOUR MIPMAPCACHE FOLDER AGAINST WRITING TO AVOID POTENTIAL PROBLEMS AS EXPLAINED IN THE INSTALLATION INSTRUCTIONS FOR THE MIPMAP PACK THAT YOU WILL FIND IN THE LINK PROVIDED ABOVE)
Step 3 - Download and unzip this mod (Nature Overhaul) and copy the “Nature Overhaul by Streamer2k” folder into the SpecialK inject texture folder, usually under C:\Program Files (x86)\Steam\steamapps\common\SMLaunch\sm1\SK_Res\inject\textures\

FAQ:
1 – I have installed another mod that replaces the same textures included in Nature Overhaul. The textures I am getting ingame are from the other mod. How can I see ingame the Nature Overhaul textures?
You will have to merge both mods. It’s simply. Copy all the files included in the “Nature Overhaul by Stremer2k” folder and paste them in the other mod’s folder (usually called “Streaming” folder) overwriting them.
Step 1 – Download and Install SpecialK It is strongly recommended to use SpecialK v0.10
You can download SpecialK 0.10.0.24 from here: https://github.com/Kaldaien/SpecialK/releases/download/sk_special_projects/SK_Sekiro_HDR10.7z
OR
If you want to use RESHADE, download SpecialK 0.10 for Reshade from here instead: https://github.com/Kaldaien/SpecialK/releases/download/sk_special_projects/SK_Sekiro_ReShade.7z
Unzip the file and copy all the extracted files into sm1 folder.
Do NOT use SpecialK 0.9.x. This version has critical bugs such as random black textures, random misplaced and missing textures as well as stability issues.
Step 2 – Download and Install my Full Mipmap Texture Pack from here: https://www.nexusmods.com/shenmue/mods/26 following the instructions step by step that you will find in the link.
(IMPORTANT: DO NOT FORGET TO PROTECT YOUR MIPMAPCACHE FOLDER AGAINST WRITING TO AVOID POTENTIAL PROBLEMS AS EXPLAINED IN THE INSTALLATION INSTRUCTIONS FOR THE MIPMAP PACK THAT YOU WILL FIND IN THE LINK PROVIDED ABOVE)
Step 3 - Download and unzip this mod (Nature Overhaul) and copy the “Nature Overhaul by Streamer2k” folder into the SpecialK inject texture folder, usually under C:\Program Files (x86)\Steam\steamapps\common\SMLaunch\sm1\SK_Res\inject\textures\
FAQ:
1 – I have installed another mod that replaces the same textures included in Nature Overhaul. The textures I am getting ingame are from the other mod. How can I see ingame the Nature Overhaul textures?
You will have to merge both mods. It’s simply. Copy all the files included in the “Nature Overhaul by Stremer2k” folder and paste them in the other mod’s folder (usually called “Streaming” folder) overwriting them.
Last edited: